The Wall of Legends

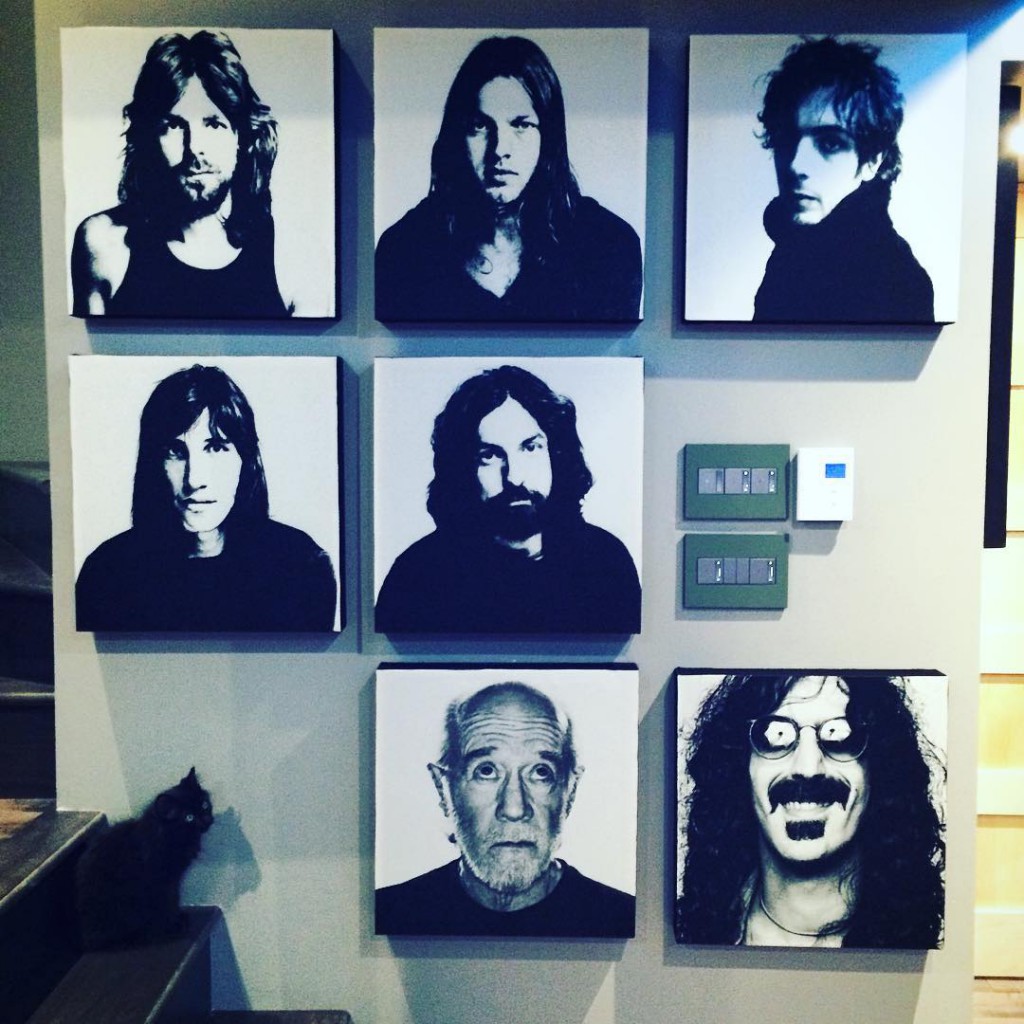
I thought this wall needed something, so I decided to make it “The Wall of Legends” by hanging canvas frames of some of my idols.

They don’t need introduction, but just in case… Top five are Pink Floyd members , bottom left is the amazing comedian George Carlin, and bottom right is the father of prog. Frank Zappa.
And on the bottom left corner; quietly sitting on the stairs contemplating his next move, is my cat Meowgli. He is not a legend yet, but he’s well on his way to become one if he keeps knocking down every single object in the house.

Don’t forget to follow @SemanticSat on Instagram

13285327_1021392517914734_481157257_n

Basement Home Studio Update 4 (and Final)

Ladies and gentlemen, this will be the final basement update, as my new home studio is now ready.

If you have missed previous updates, you can find them here:
Basement Home Studio Update 1
Basement Home Studio Update 2
Basement Home Studio Update 3

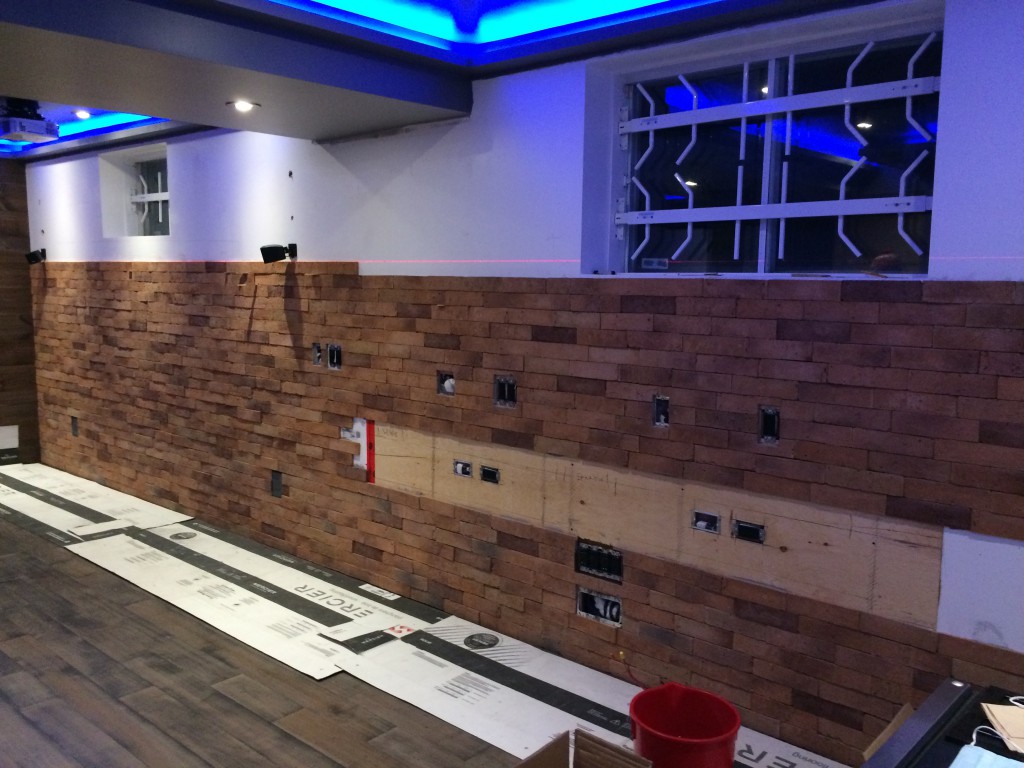
We continued building “The Wall”. I didn’t realize it takes so much time and effort to finish it, specially in spare time.
IMG_0374
The workstation desk and the rest of the furniture, in-wall cabinet etc… arrived late January, and they started installing them.IMG_0392
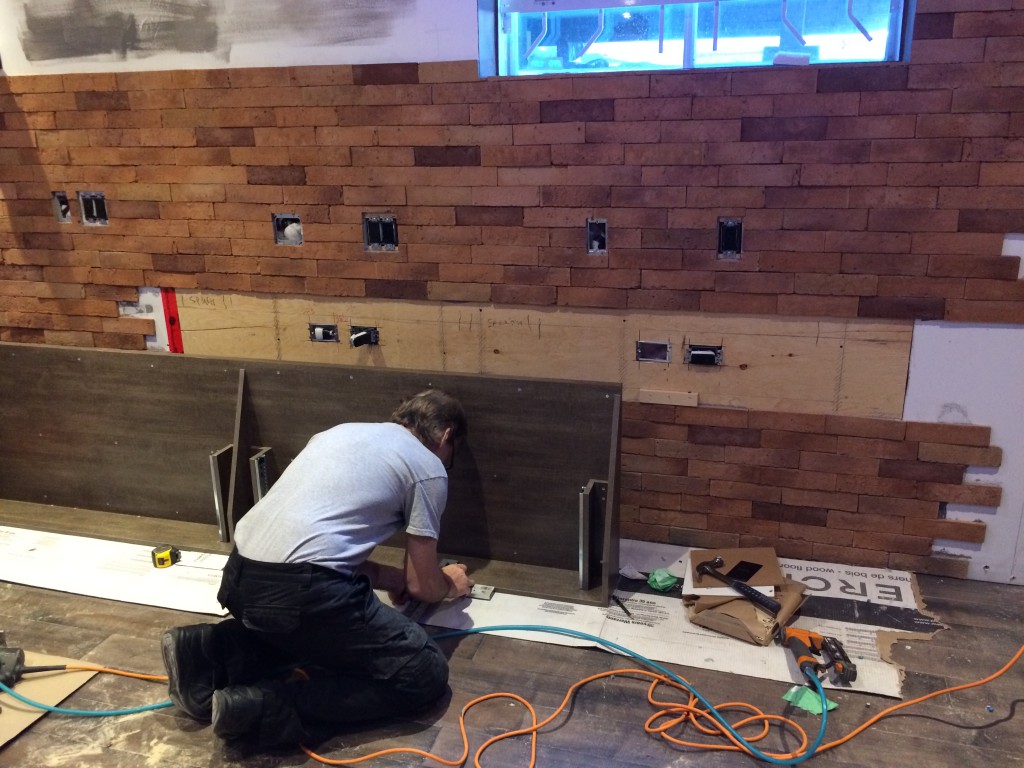
At this point, the brick wall was not fully done yet, waiting for the desk to be mounted first, and then ready to be built around it.IMG_0393
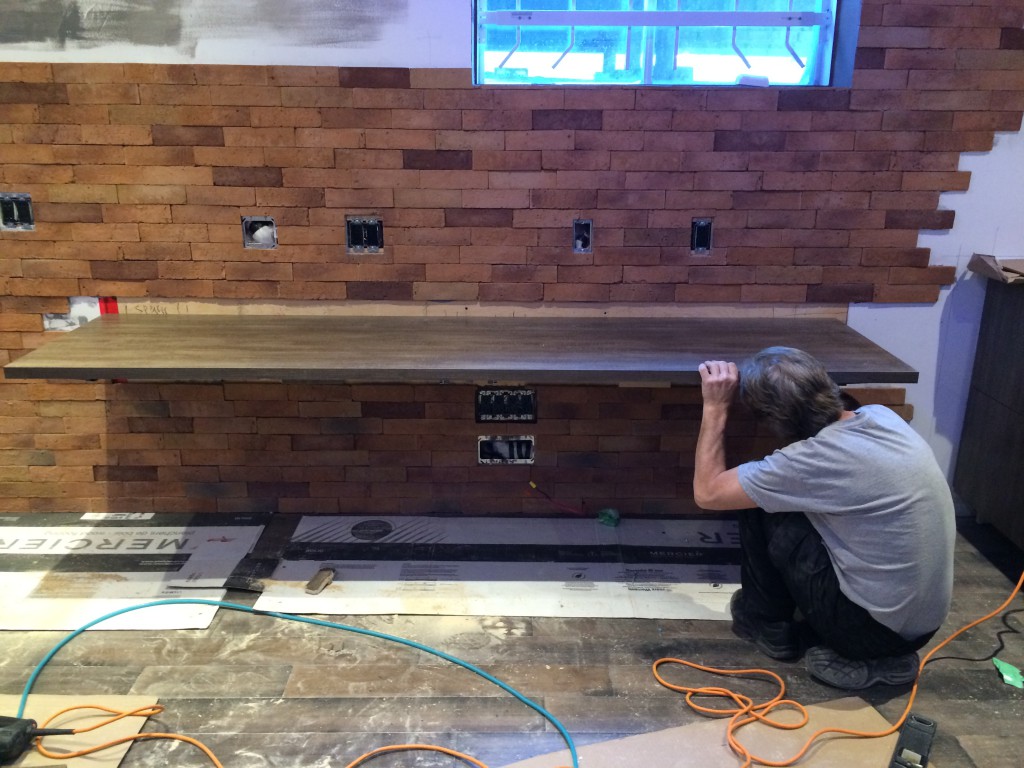
After the desk was mounted we made some good progress building the brick wall again. Can’t wait for the damned thing to be done already, we ran short on bricks having one full box of broken ones, but the store was nice enough to replace it.
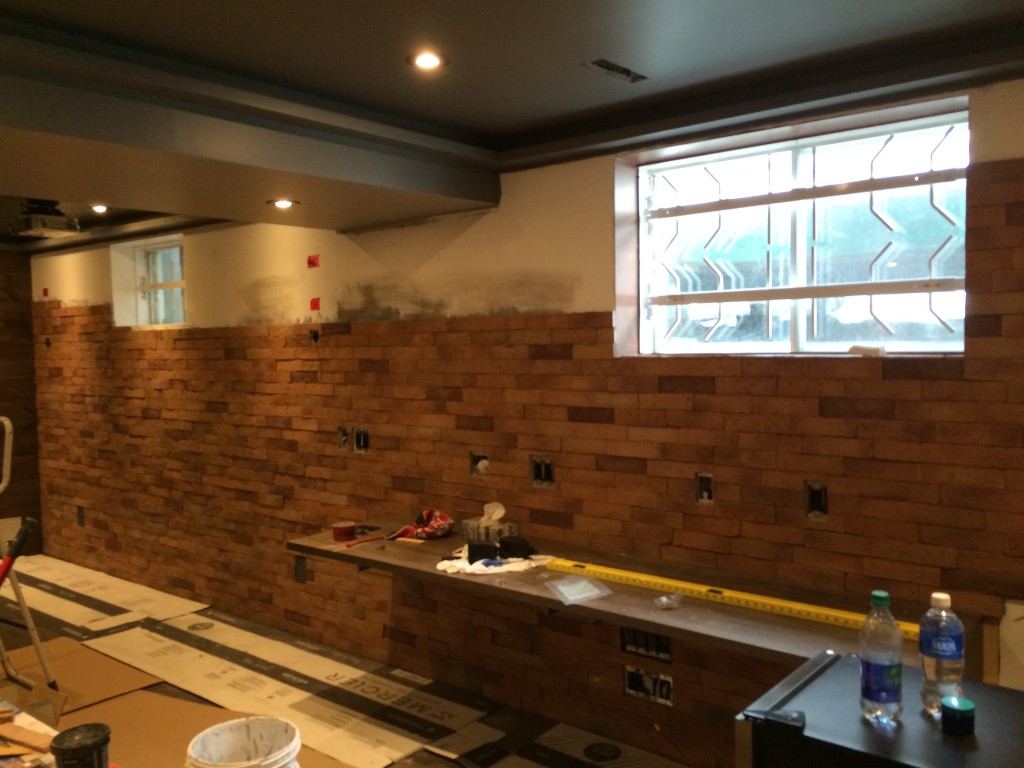
IMG_0414

We had more problems, the measurements for both cabinets were a bit off, and the problem was they were bigger than what was in the plan. The bottom one got sorted out by cutting a bit from the top part. But for the upper cabinet to fit in we had to break the wall. Luckily the painter was available next day to come and fix it again.
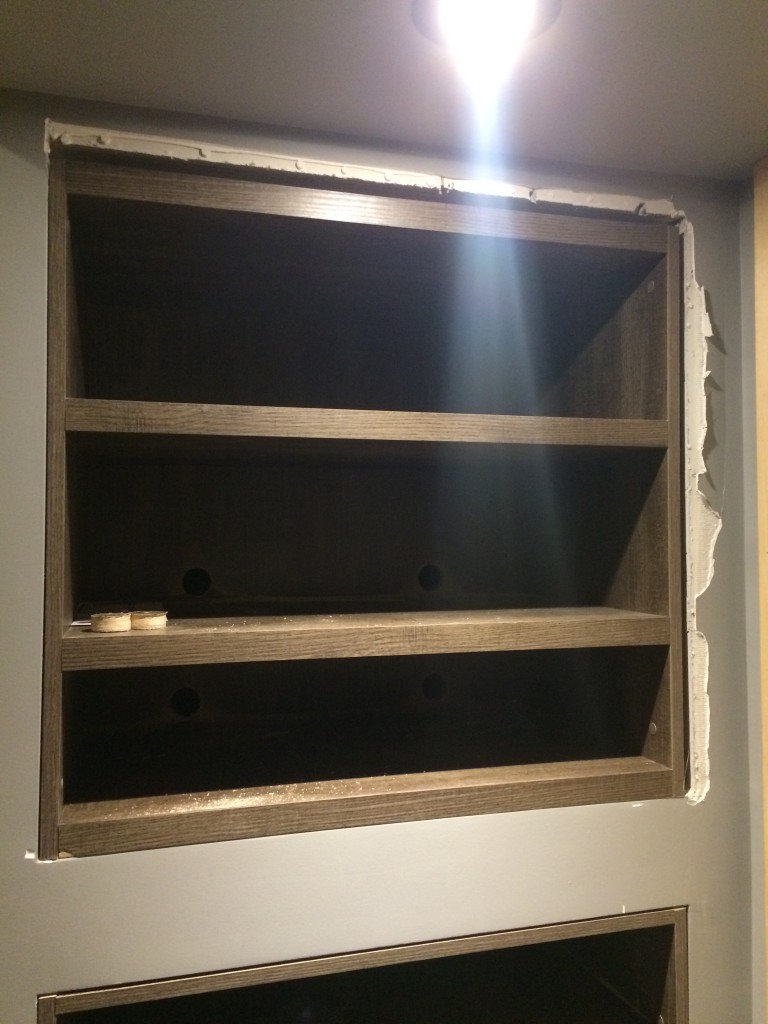
IMG_0394

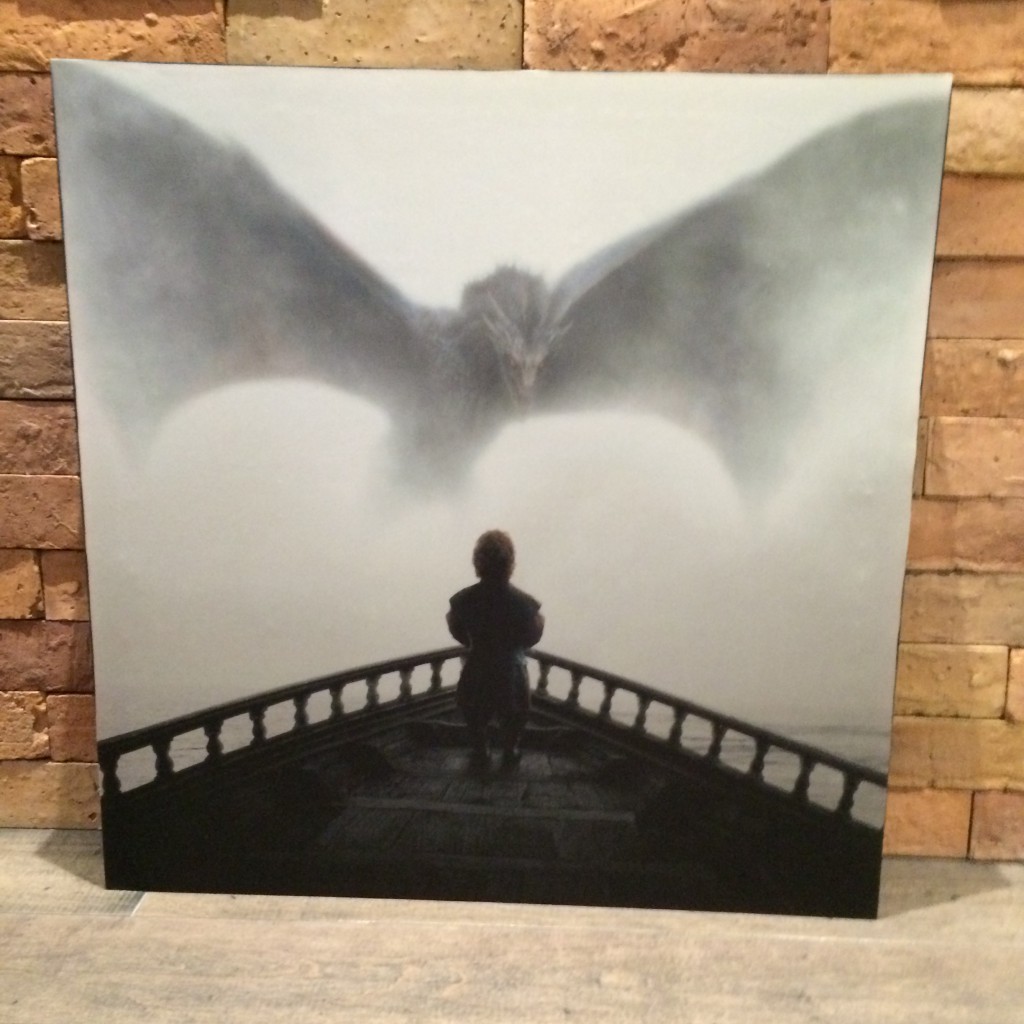
Meanwhile I made some picture frames for decoration, but these are not just decorative frames. There’s a twist, they are actually acoustic panels. There’s a 2 inch padding inside the frame that works very well for sound absorption.
IMG_0369

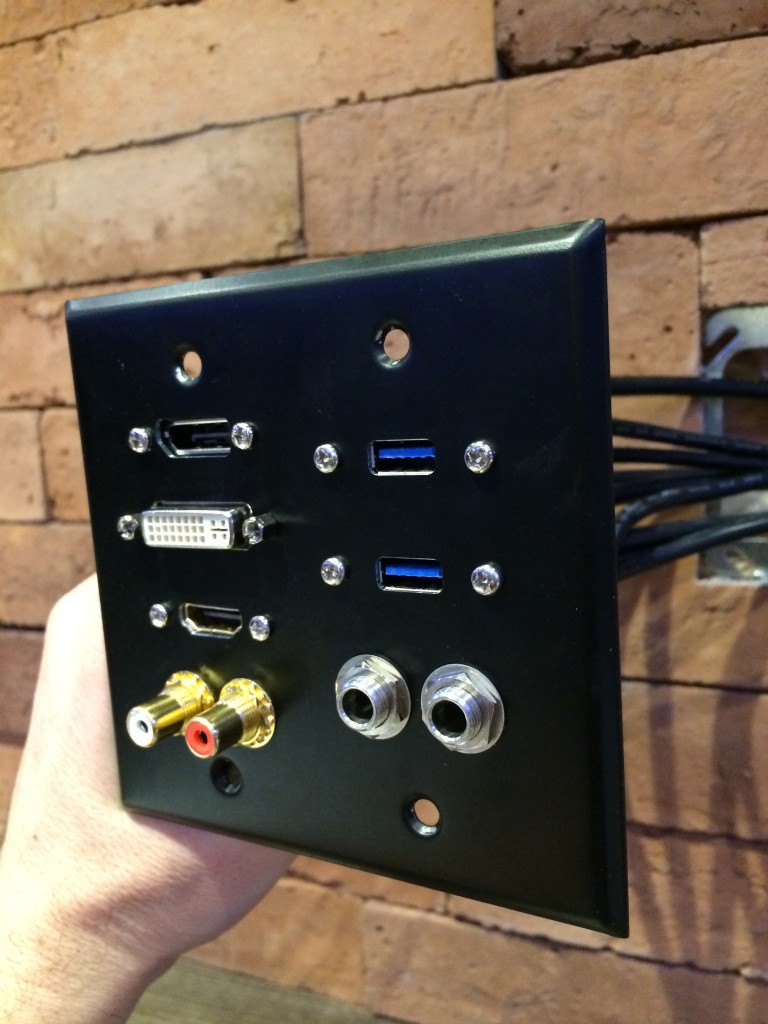
I mounted these sexy looking custom wall plates that’s going to hide all the cables inside the wall. No hanging cables, no mess, no distractions, and a nice clean look. I’m loving them.IMG_0422
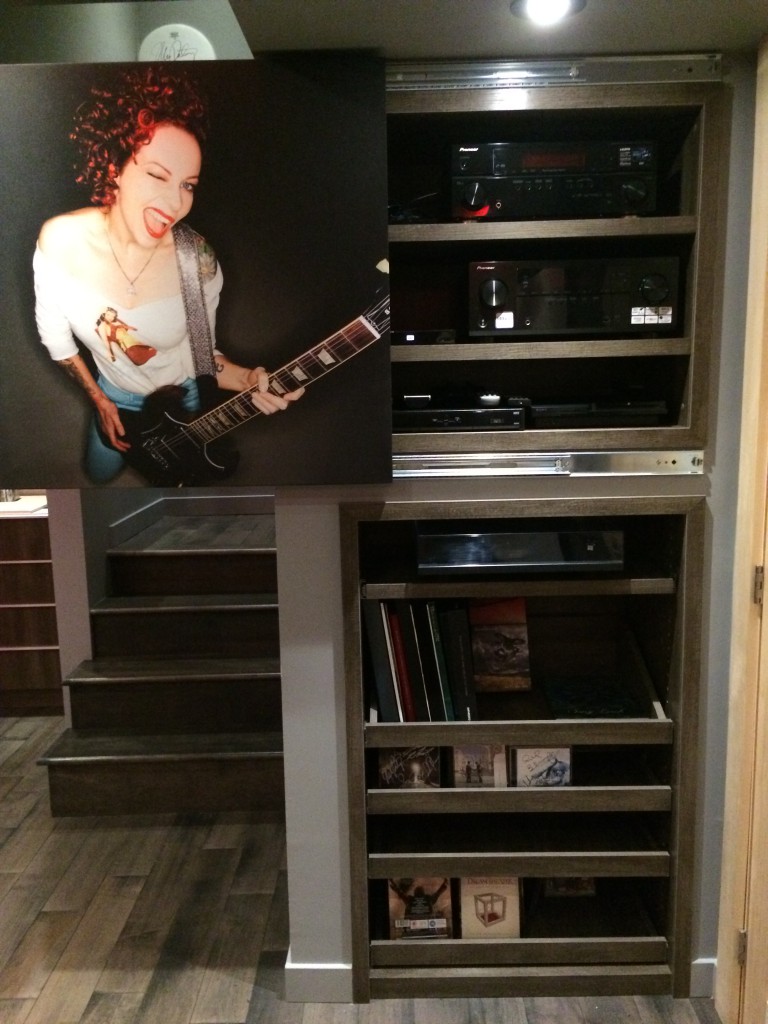
I started placing the equipment in their pre-assigned locations and you can see part of my music collection already loaded in the lower cabinet. Anneke’s picture frame is mounted on two sliding tracks that hide all the equipment for a cleaner look.
IMG_0570

And there you have it. I have waited for this moment for a very long time.
I can finally say my new home studio is complete (almost) … There’s always something missing, well it’s important too. A guitar AMP!

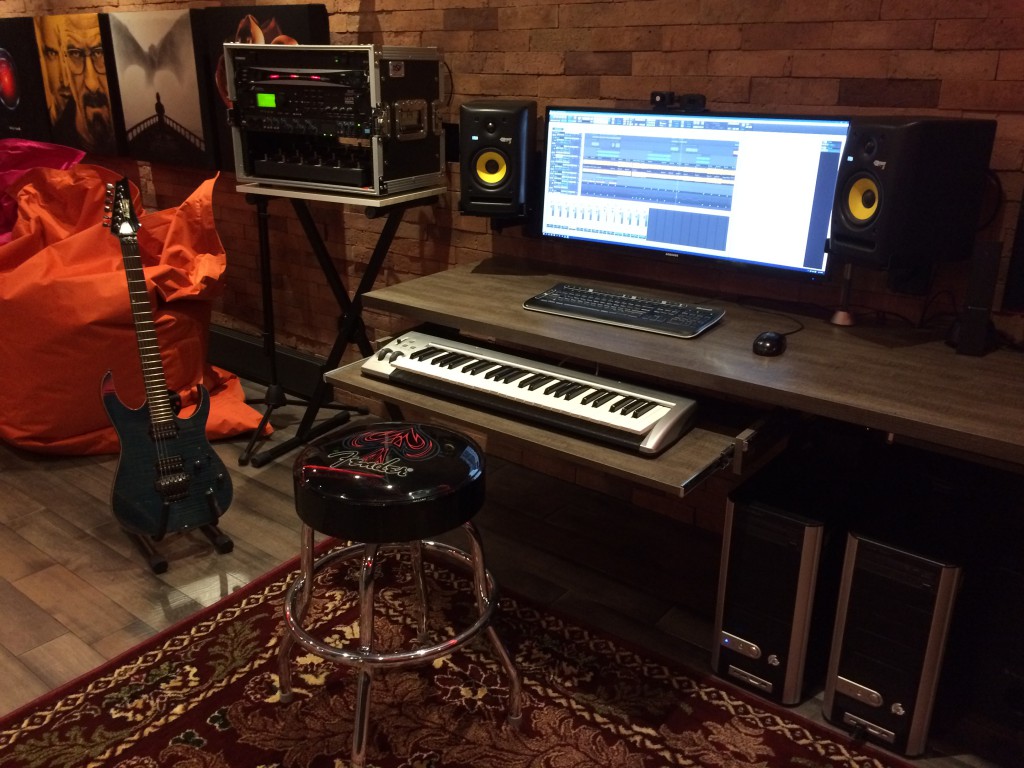
The screen and speakers are all wall-mounted, I had a hard time finding a fixed computer monitor wall mount for my new Samsung screen, since it has this square opening in the back, but the vesa mount that I bought from Amazon, was 2mm larger so it did not fit in the opening. I put my hammering skills to the test (on the bracket, not the monitor) but that failed. So I had to improvise with load of washers. I got it to work in the end. Now I have 100% of the space on the desk.

That keyboard drawer is also something the factory custom built for me based on my genius ideas. I wanted the drawer to go all the way back when pushed in, so my knees do not hit it when I’m sitting down on a normal computer chair. There are no sliders that extend two times over their size, so my idea was to mount two tracks on each other to have double extension. It worked very well.
IMG_0557

I hang my babies on this wall when they are resting. Worry not, I already have a humidifier that takes care of the guitar wood, and the electrical fireplace does not generate a lot of heat anyway. Plus the heater is located under the fireplace. I also have a heating and humidity level monitor, so everything is under control.
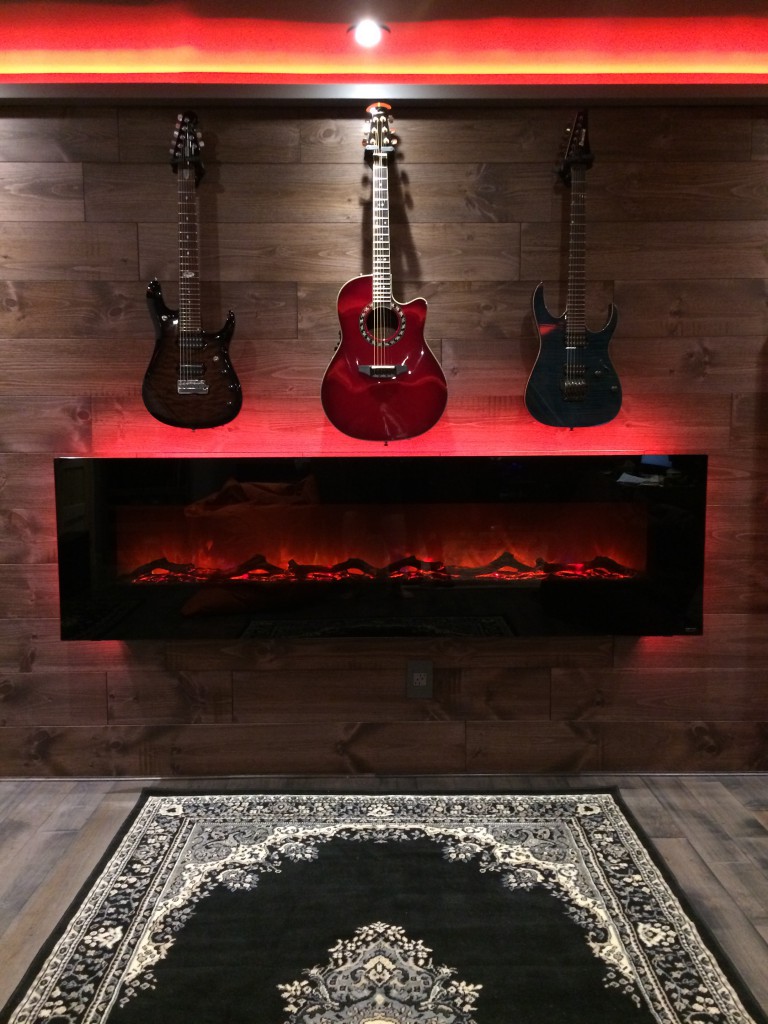
IMG_04521

All that’s missing now is the new amp that I’m planning to get very soon, I’m leaning towards the Mesa Boogies but I haven’t decided on the model yet. I’ll update you with some pictures and maybe a video when I get my hand on it.

I have to say, if you were reading this far, thank you. And I hope these post are insightful.

I will post more pictures on Instagram in the coming days, follow me at @semanticsat

-Shant
 

Basement Home Studio Update 3

Alright, I owe you yet another update from my upcoming home studio renovations.

It’s been almost a month since the last one, but you know with the holiday season, things go slower than expected.

But, we are getting there. Actually, I think we should be done in a matter of another 2-3 weeks.

If you missed the previous updates, here are the links to Basement Home Studio Update 1 and Basement Home Studio Update 2

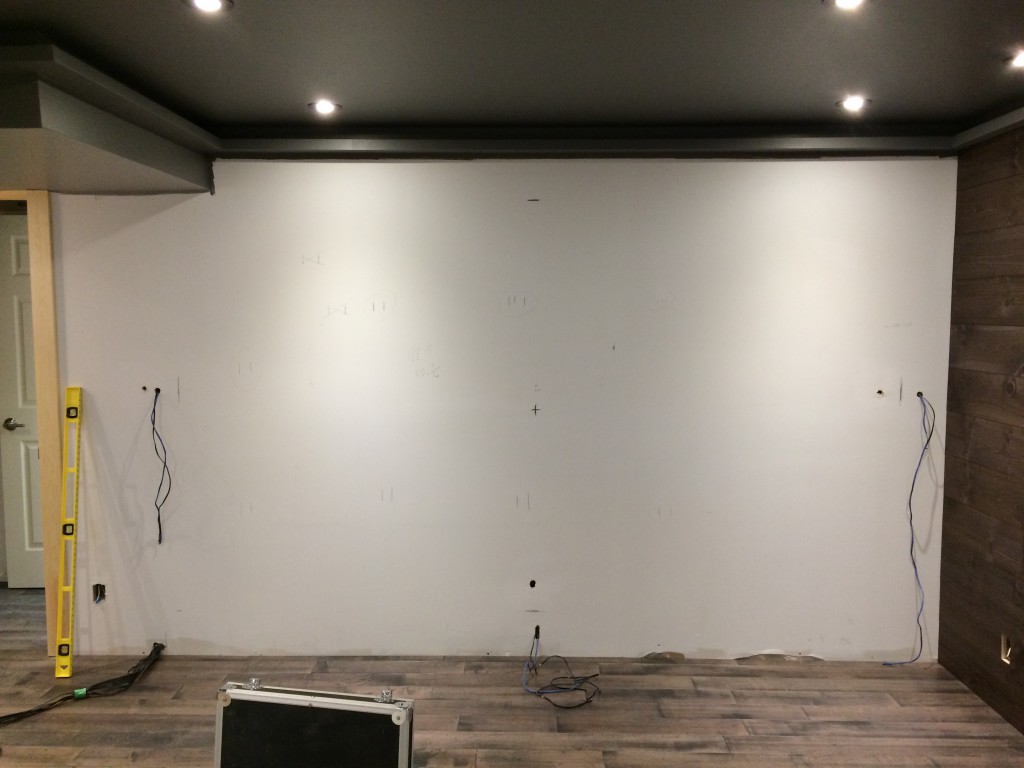
I started installing decorative stone on the wall where the giant screen is going to be.

IMG_0109

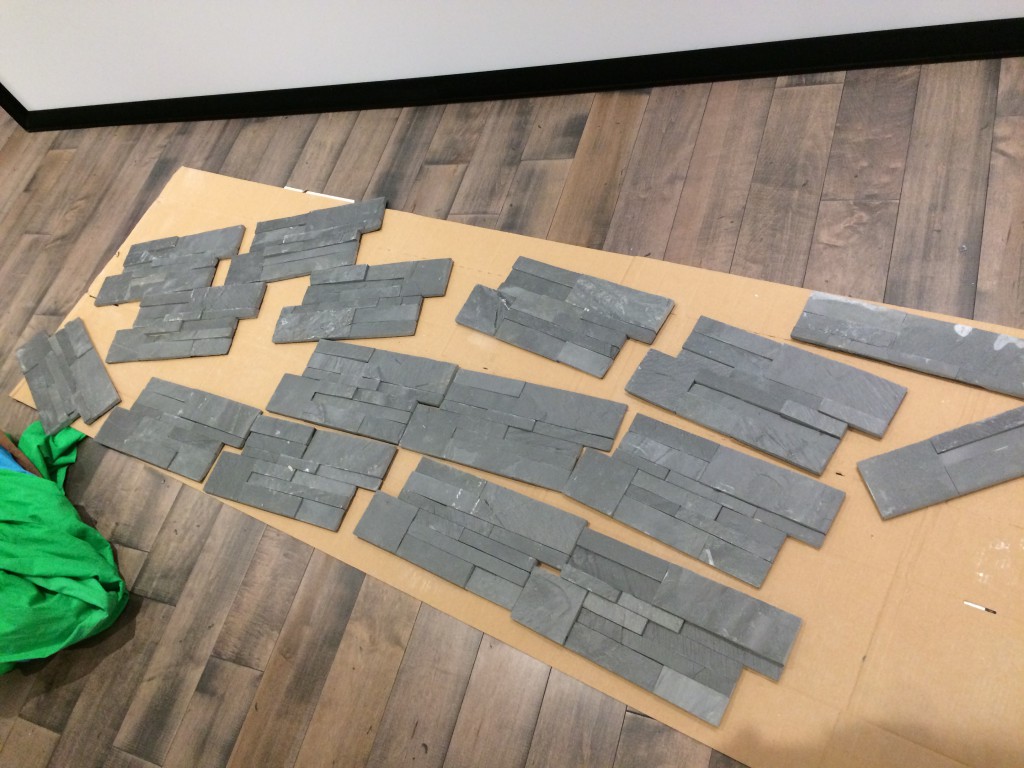
These are the decorative stones
IMG_0110

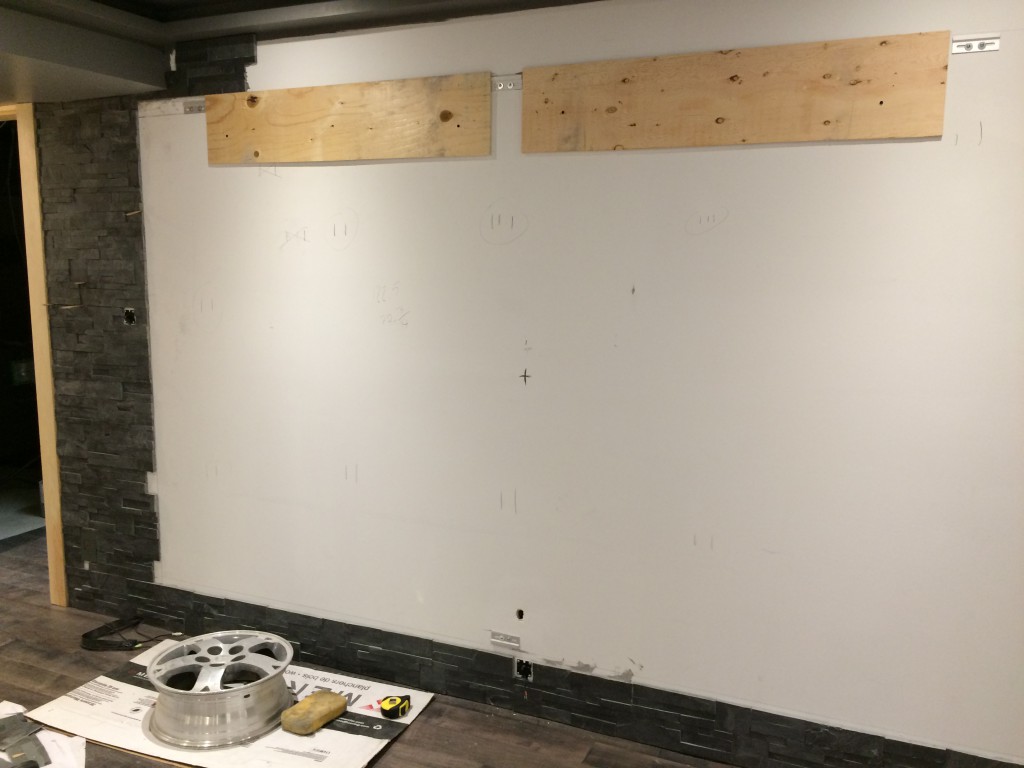
Half the wall is done already. Don’t mind the tire rim, we didn’t have a ladder available so we improvised.
IMG_0148
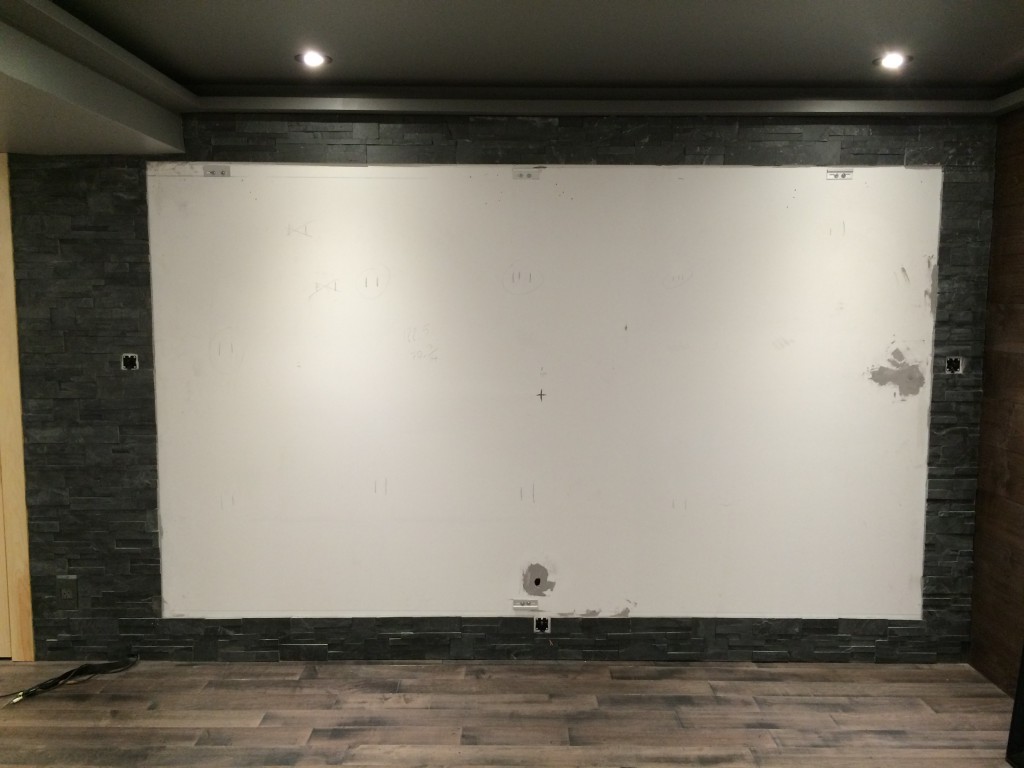
And here’s the wall completed waiting for the speakers and the gigantic 135″ screen.IMG_0159All done and ready, missing the sub-woofer on the lower left where the wires are coming out.
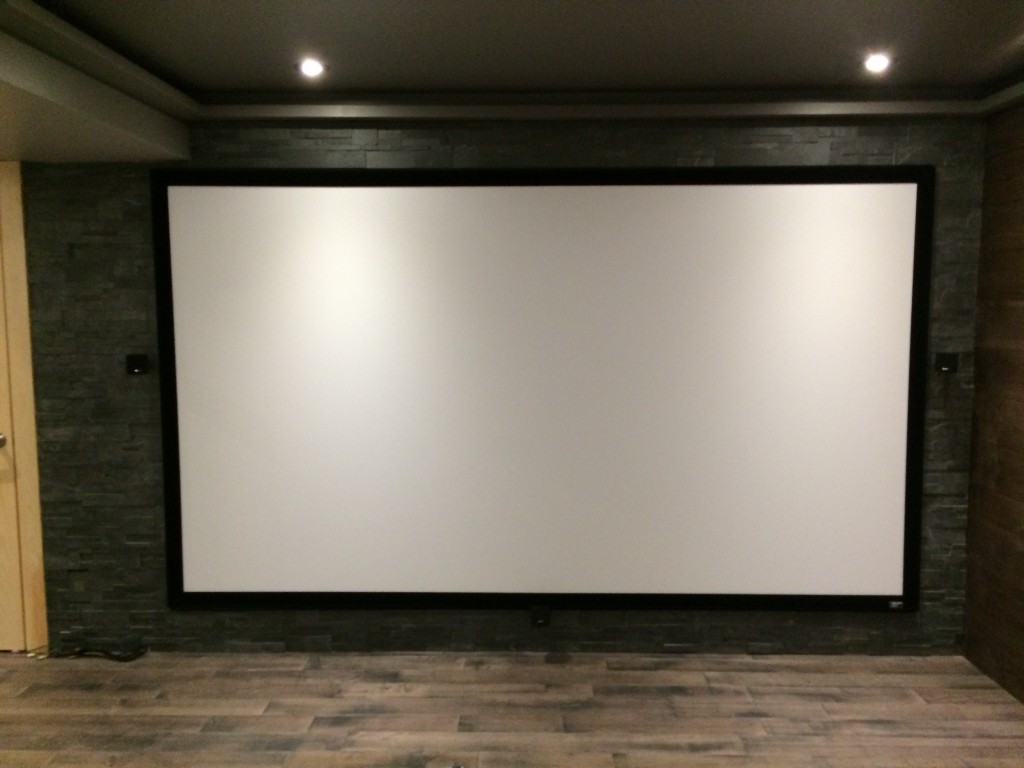
IMG_0162We got this beautiful fireplace finally connected. It’s very slick.
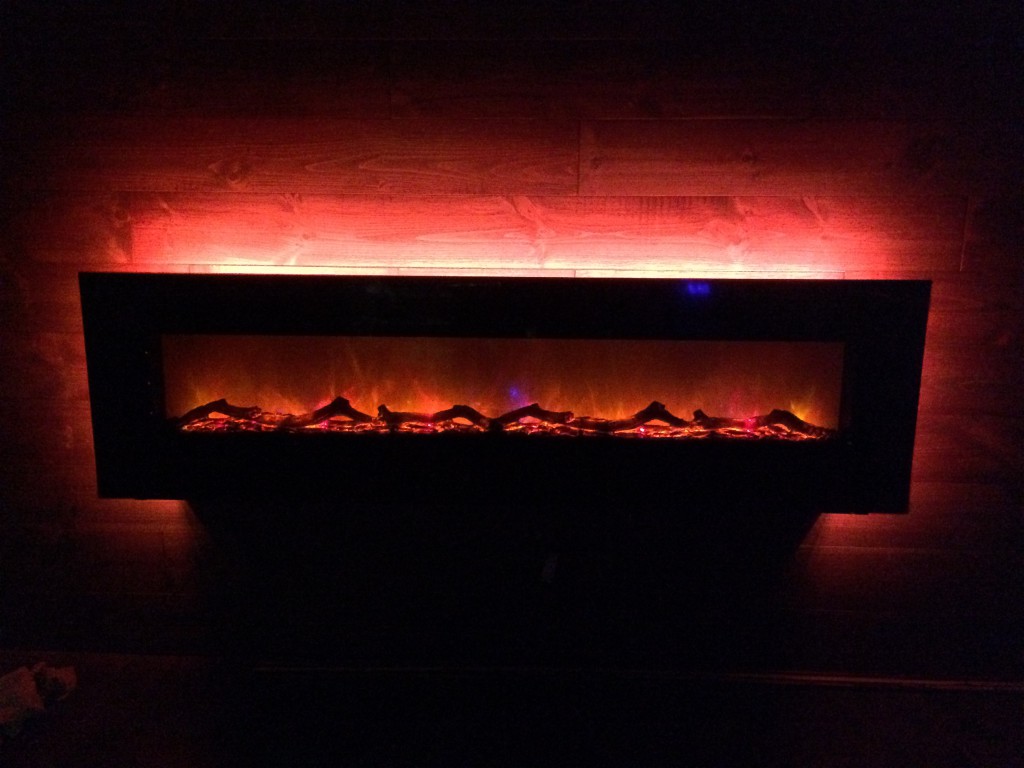
IMG_0106

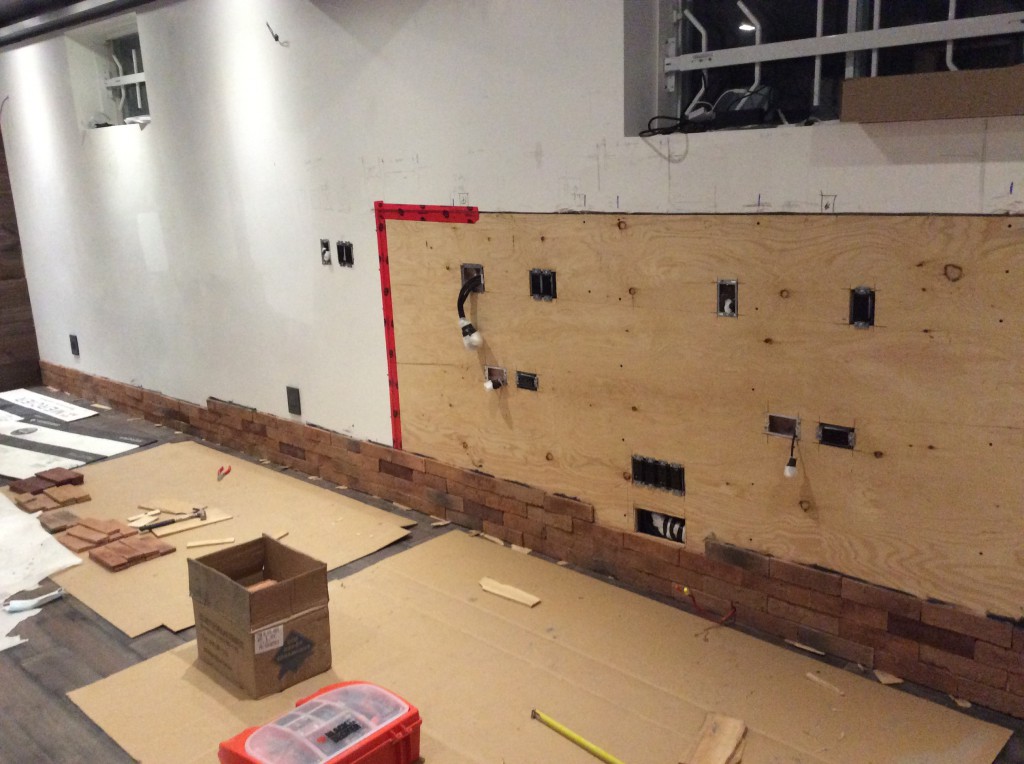
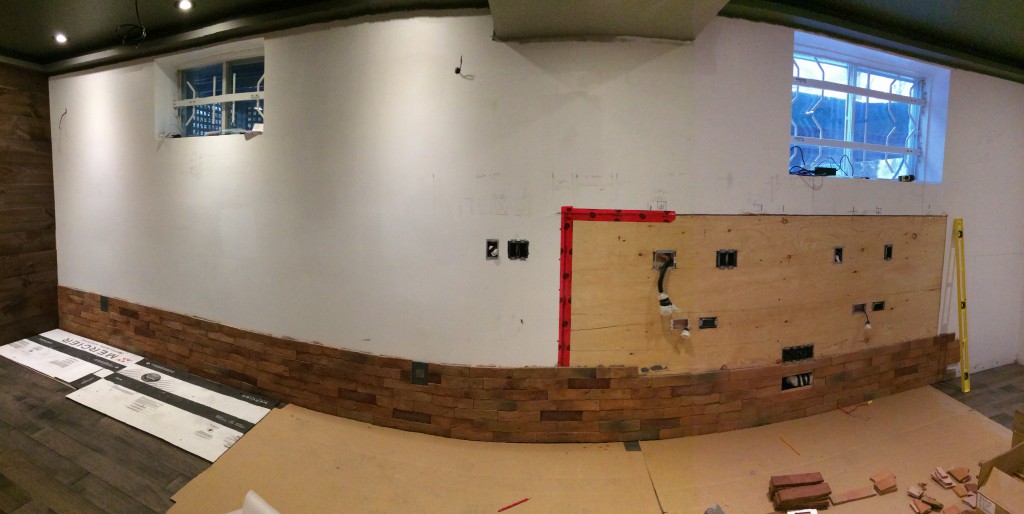
This is the opposite wall, where my workstation and amp are going to be. We decided to install a different looking flat and square brick.
IMG_2808No mortar needed, in fact it looks nicer without mortar in between the pieces.
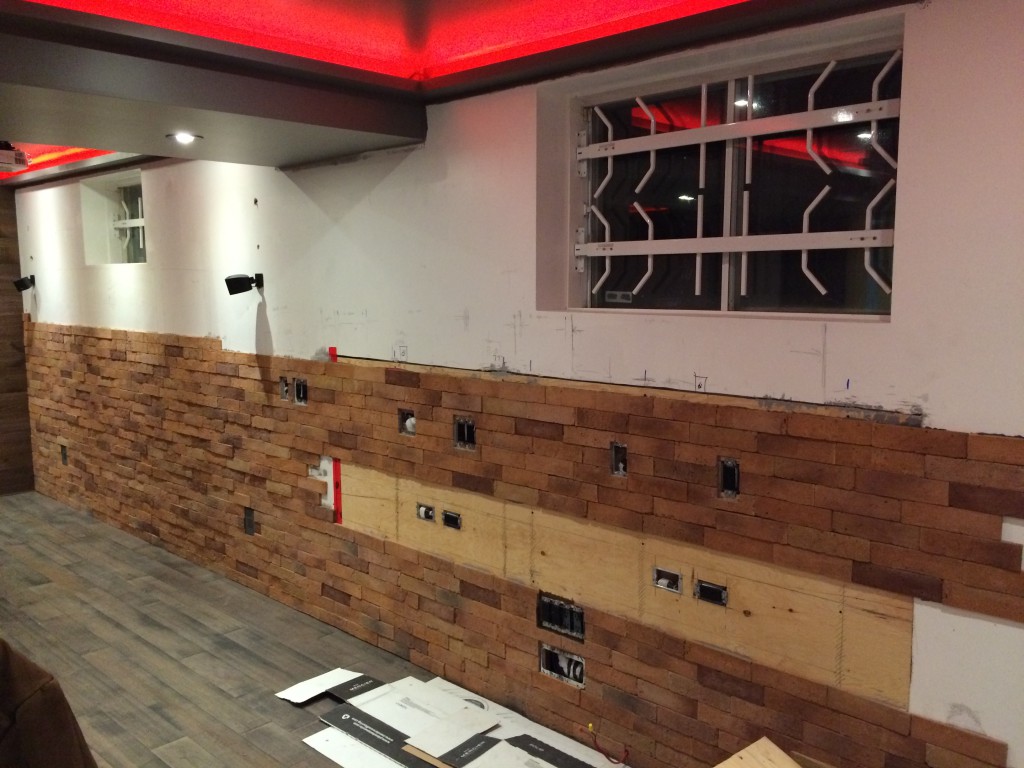
And in case you were wondering… Yes, I had “The Wall” playing during the installation, but I had to stop the music at “Tear down the waaaaalll”. Cause you know that wouldn’t work very well.
IMG_0190

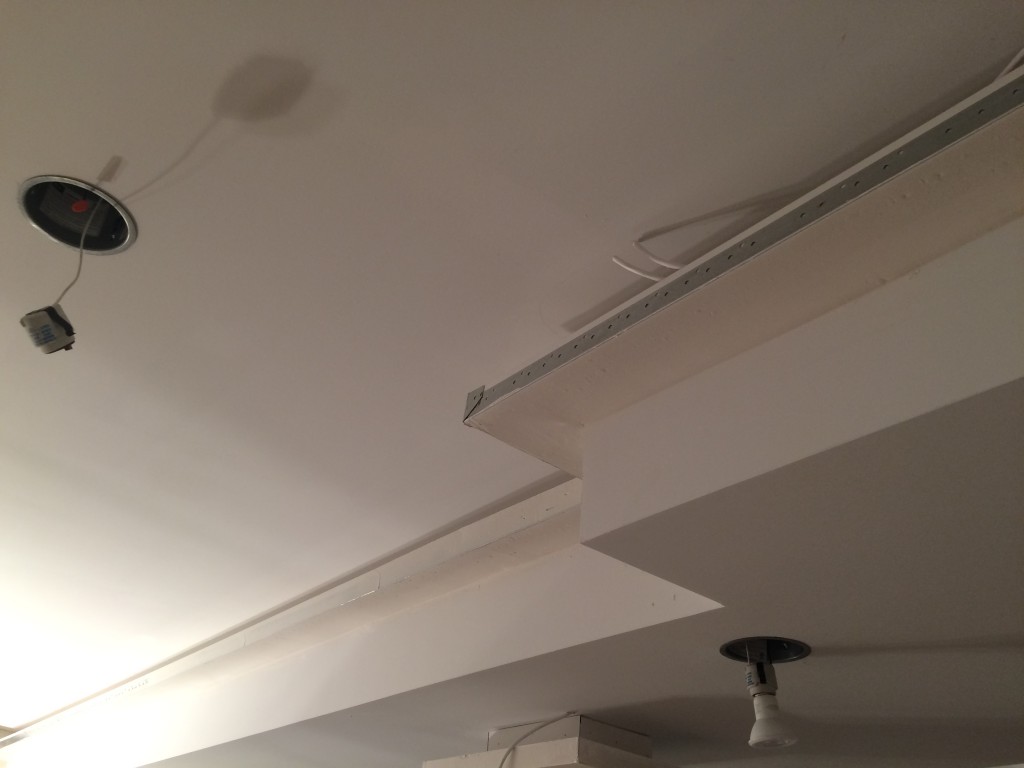
And this is where we are right now,more than half the way up. And the sexy LED lighting is now in operation as you can see.IMG_0331I need to pick it up in the next few days and finish this wall, cause the computer desk, bar and receiver cabinets are coming in next week. AND, I want to get done already.
More to come, I think the next update will be the last. Stay tuned, always.

Cheers and happy new year!
-Shant

Continue to Basement Home Studio Update 4 (and Final) >>

Basement Home Studio Update 2

I’m back this week with another update from the basement. You can see the first update here in case you missed it last week.

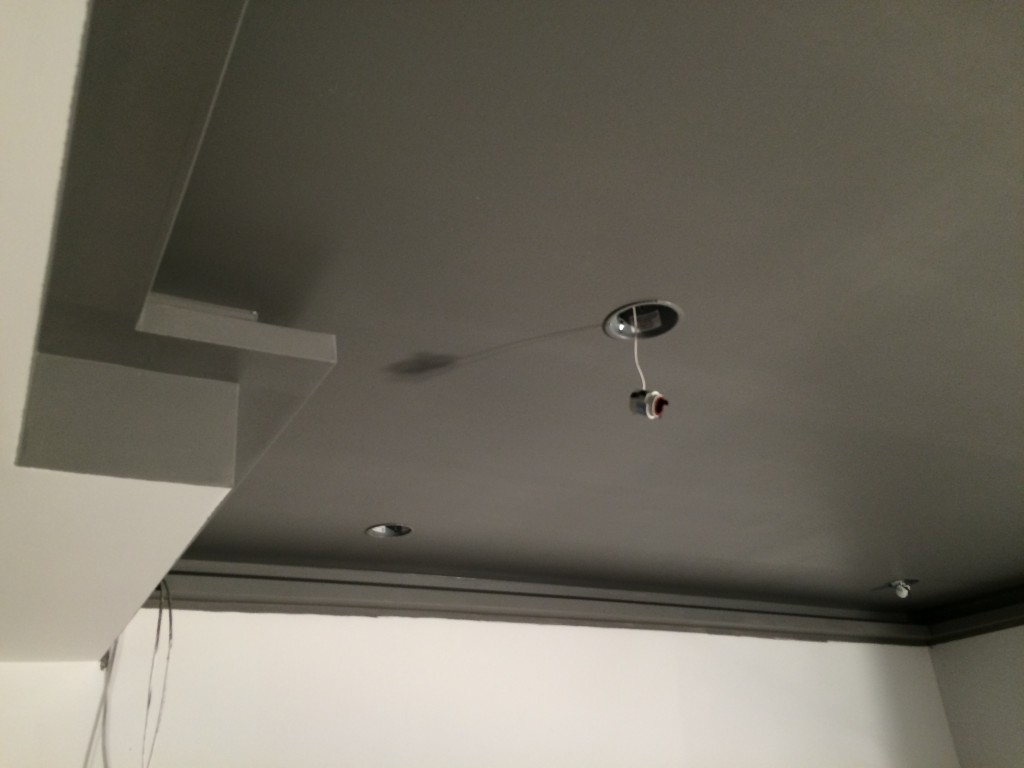
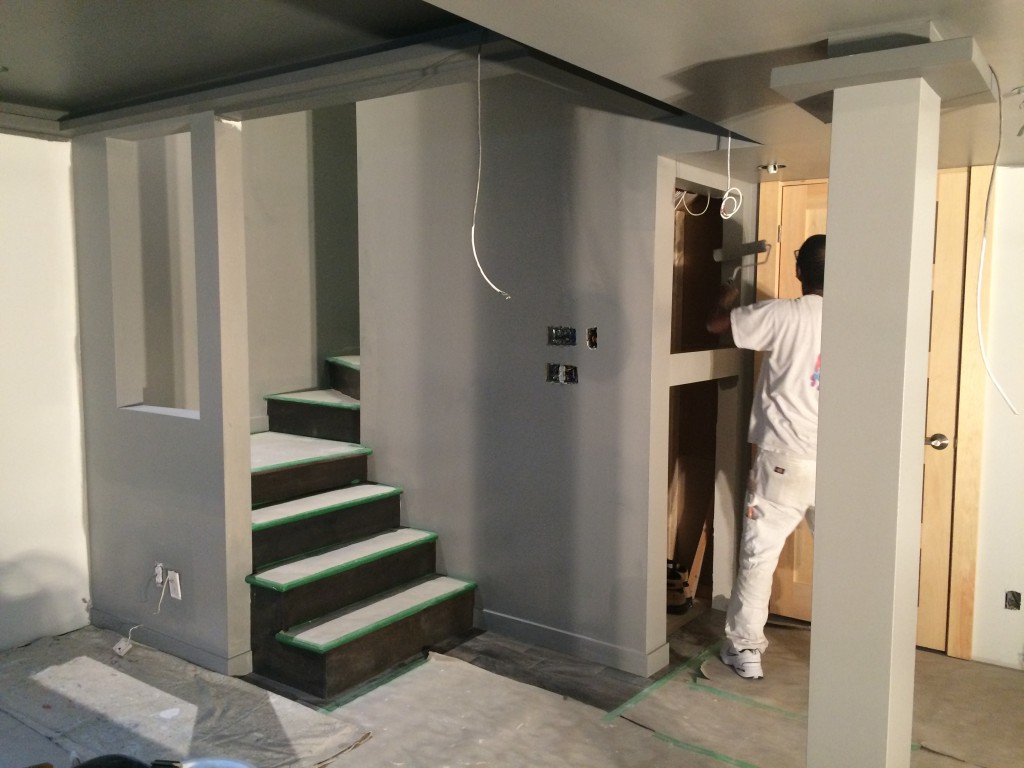
The painter started working last week on the ceiling niches, and prepared the walls and ceiling niche for plastering.

IMG_0019

The ceiling painted…

IMG_0035

The entrance and the rest of the room has been painted as well.

IMG_0040

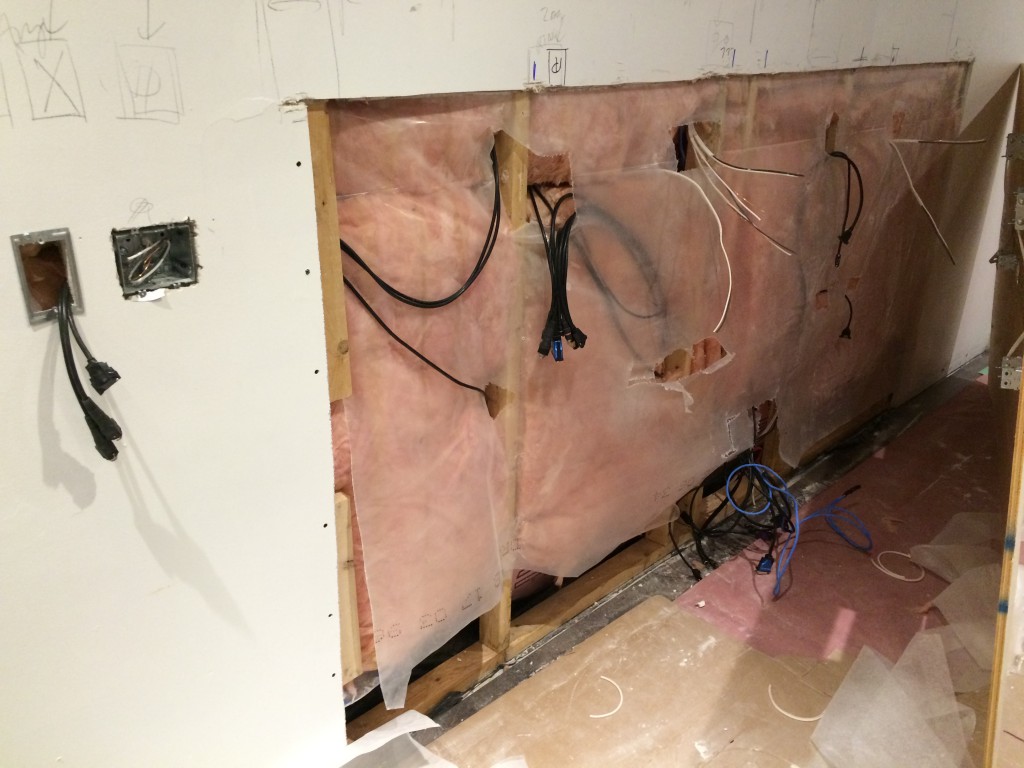
Meanwhile, we passed some wires through the wall for the workstation. There are lots and lots of wires going through the walls, USB cables, Firewire, DisplayPort, DVI, HDMI … you name it.
This will keep things super tidy and there won’t be any wires cluttering the work space.

IMG_0079

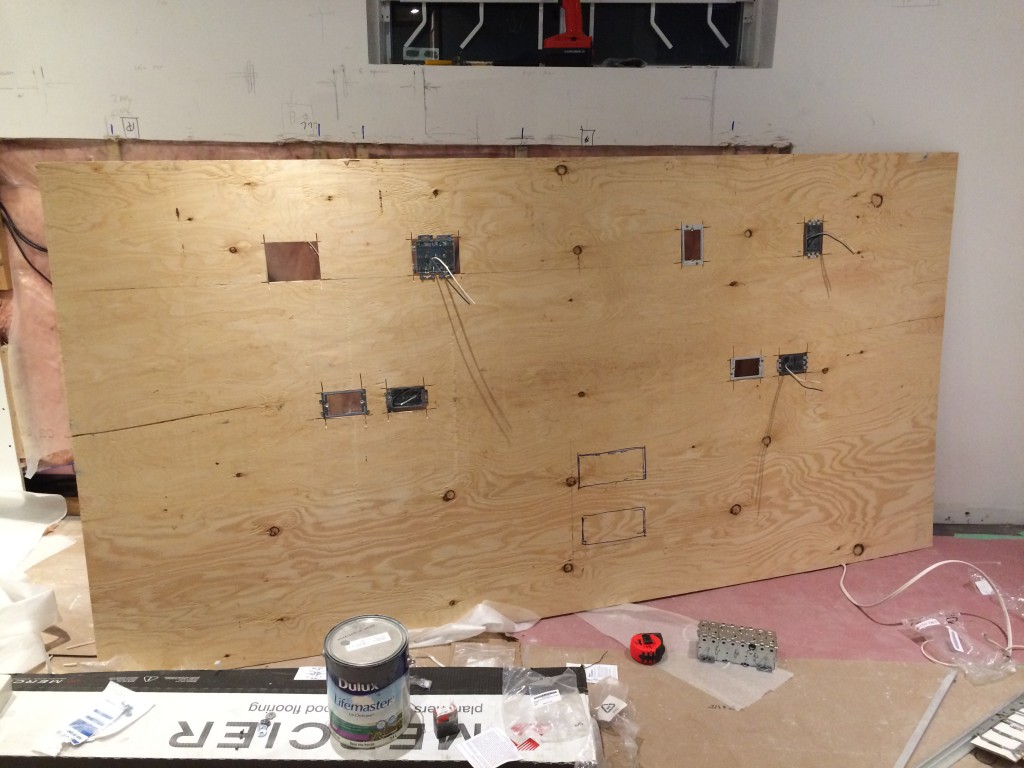
I prepared the openings for the electrician on this plywood, we decided to use plywood instead of regular drywall to help support all the devices that are going to be wall-mounted. Yes, even the monitors will be wall mounted to maximize the space being used by the monitor stands.

IMG_0077

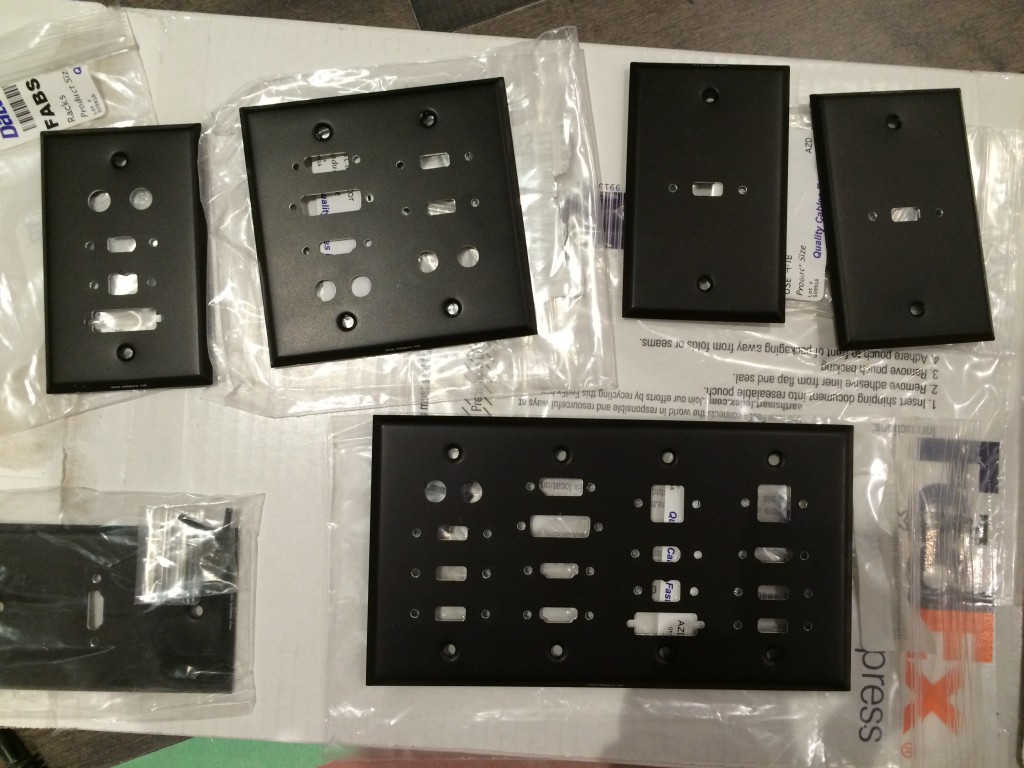
Here are all the custom wall-plates that cost me a small fortune to order. But I’m excited to see them mounted.

IMG_0076

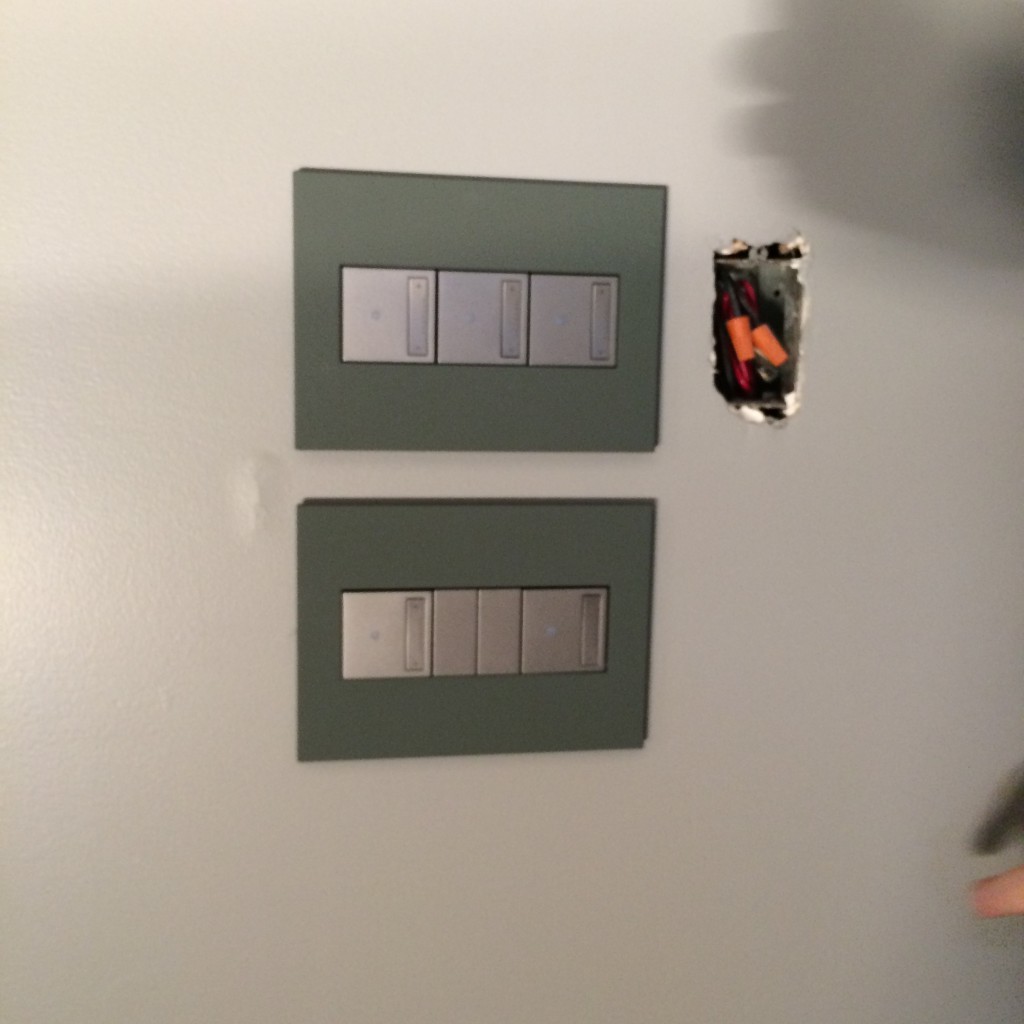
The electrician also installed the new spotlights and light switches, they look sick!!

IMG_0074

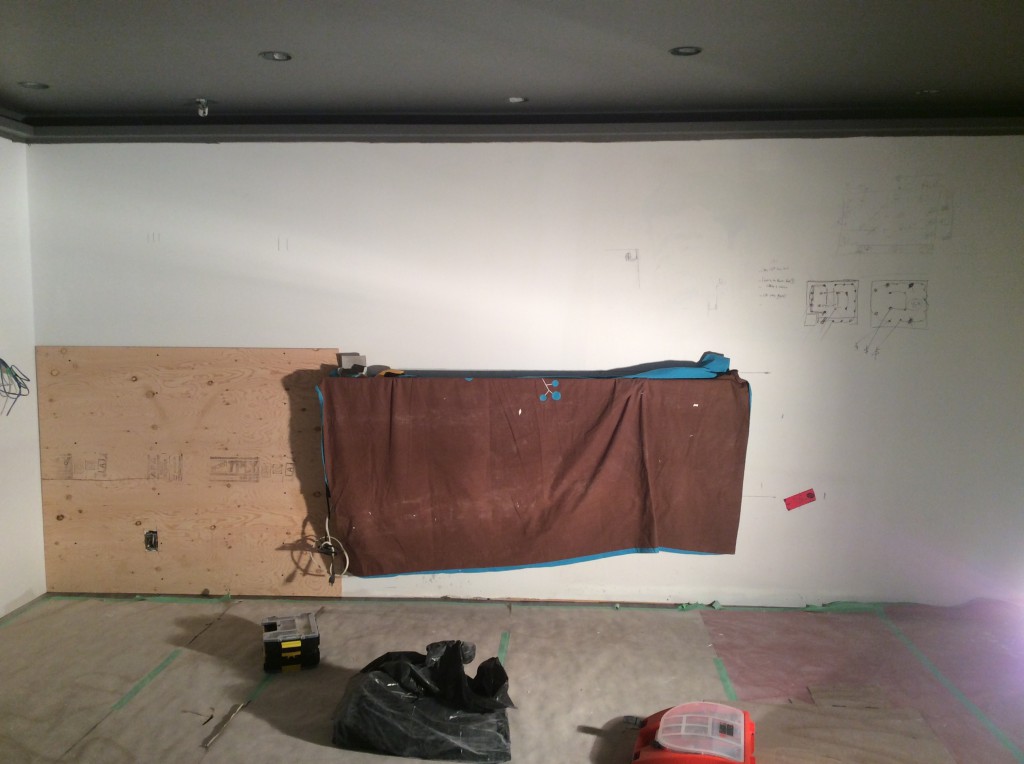
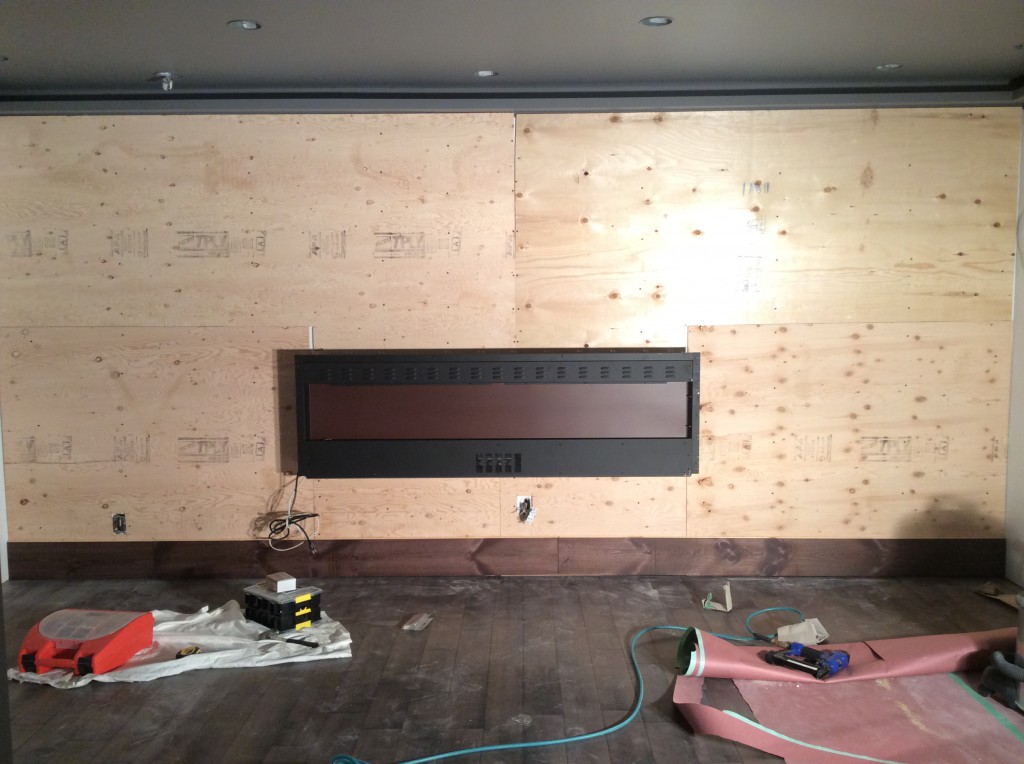
I also decided to add some plywood to the other wall around the electric fireplace. They will serve as a support for the finished wood that you will see later on, and will help support the wall mounted guitar hangers. Yep, I’ll be hanging all my guitars on this wall… Maximizing space!!

IMG_2759

The plywood is up, and starting the finished wood installation.

IMG_2765

So I had this idea to make a time-lapse video of the installation process, and it actually turned out pretty nice. The entire thing took us 8 hours to finish, my wife helped me 🙂

Here’s the video, it’s nice and short, enjoy.

https://youtu.be/NWnDcs0r0Wk

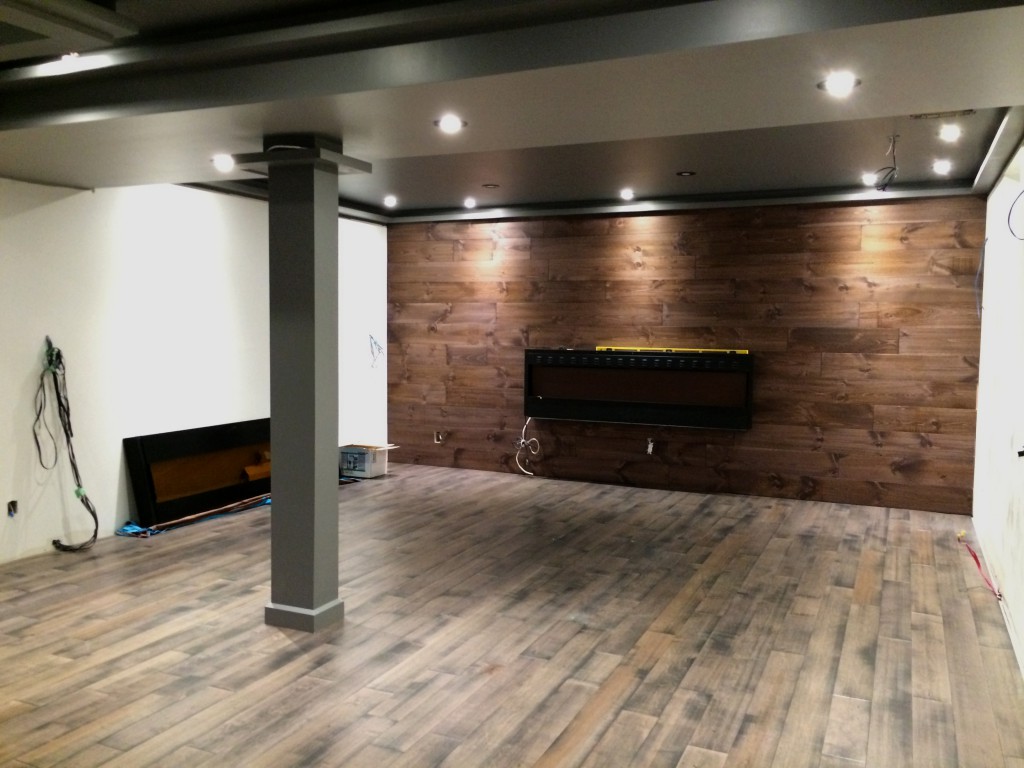
And, below you can see how the whole rooms looks like right now. There’s more to be done in the next couple of weeks, as you can see there are some wires hanging around and a couple of bare walls on the sides.

My babies will be hung (I mean guitars) either on the side of the fireplace or right above it. I’m not so sure yet if it’s a good idea to put them right above the fireplace, I’m concerned about the guitar wood going dry because of the heat. Any ideas?

IMG_0081

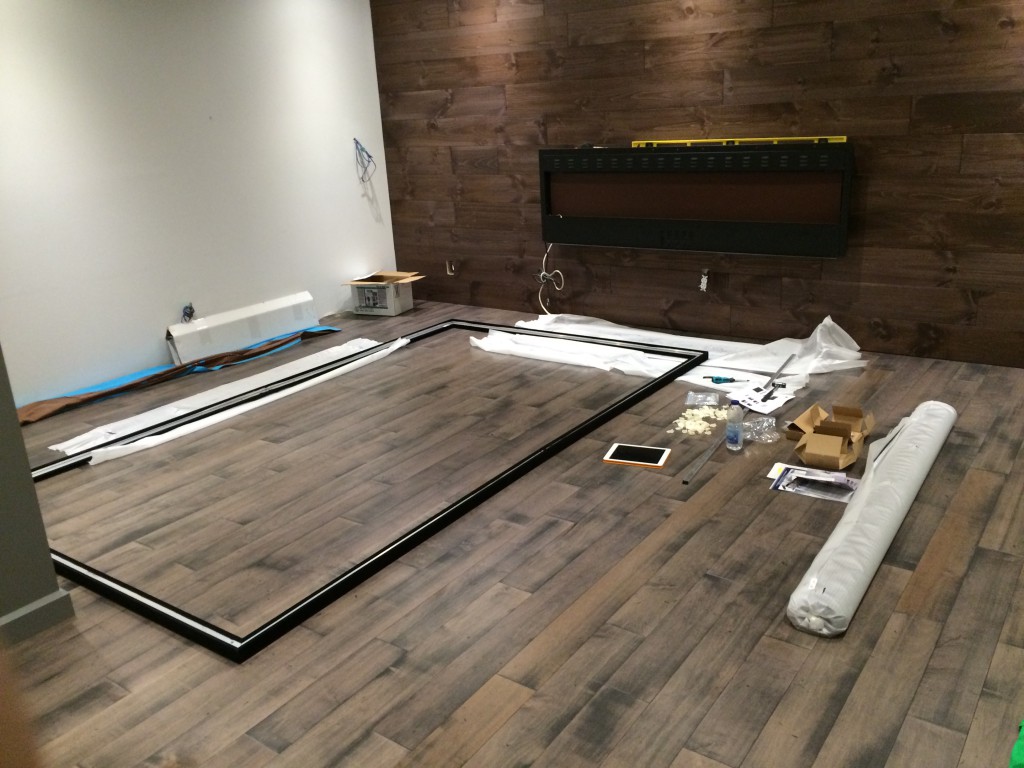
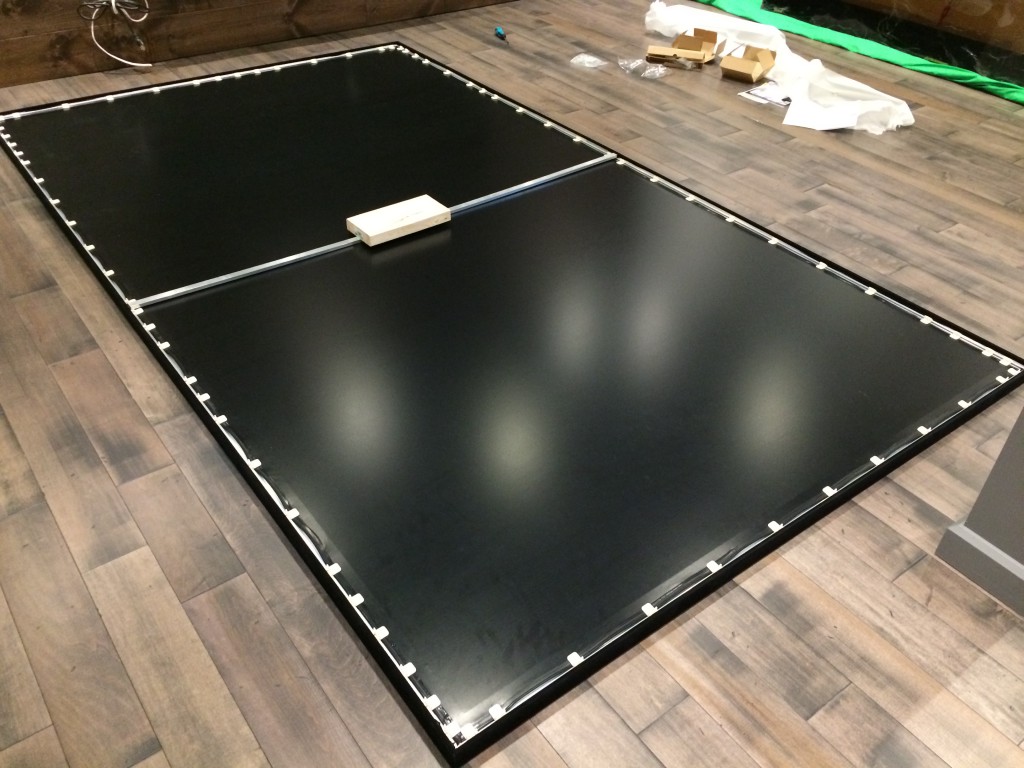
And finally, I started assembling a giant 135″ projector screen.

The room will also be my man-cave after all.

IMG_0084

And here it is, it has to stay like that for a couple of days to cure and minimize wrinkles caused during packaging.

IMG_0086


Well… That’s all for this one folks!
Stay tuned for the next update, I will probably post another one next week.

Cheers!

Continue to Basment Home Studio Update 3 >>


Basement Home Studio Update 1

If you remember back in August I made a quick blog post titled Back With a Plan regarding a new home studio for me. Well the plan is now in action, and it’s been over a month already. I’ve been taking a lot of photos during the renovation process and finally I have found some time to put these together and keep you posted.

Here goes…

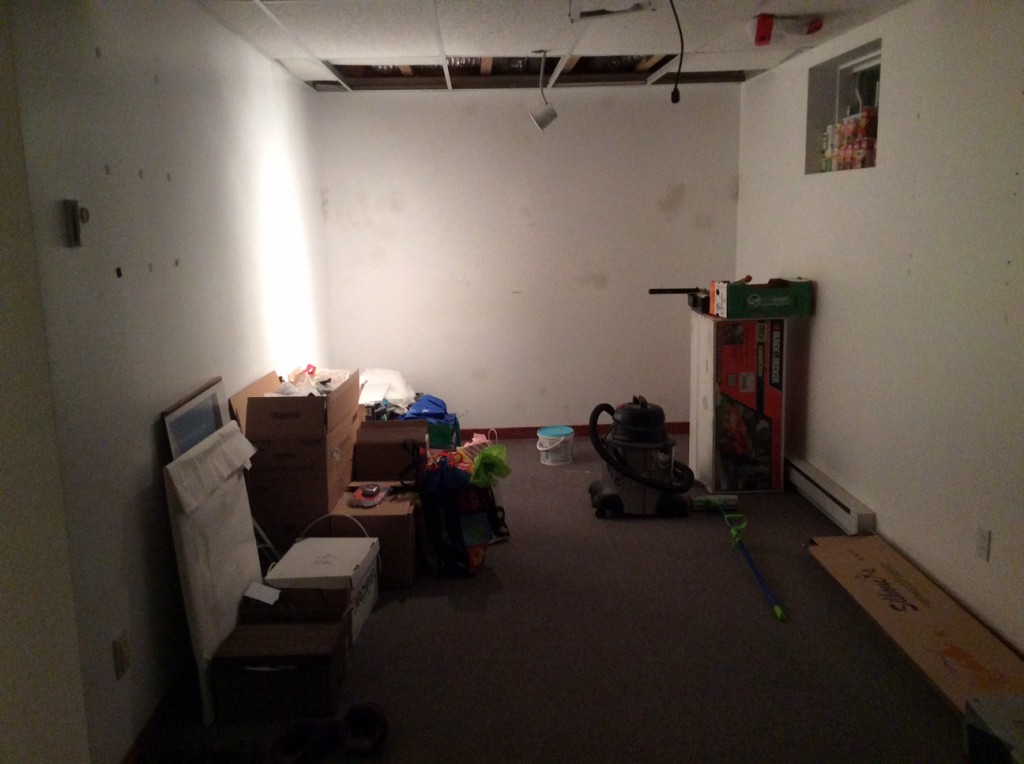
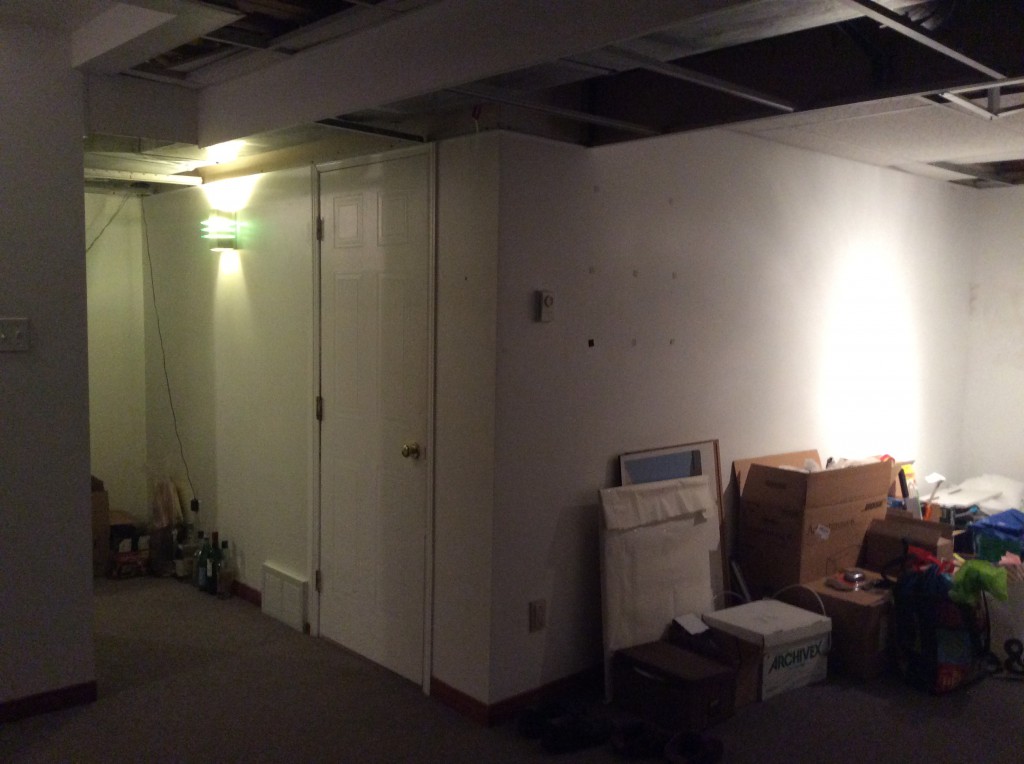
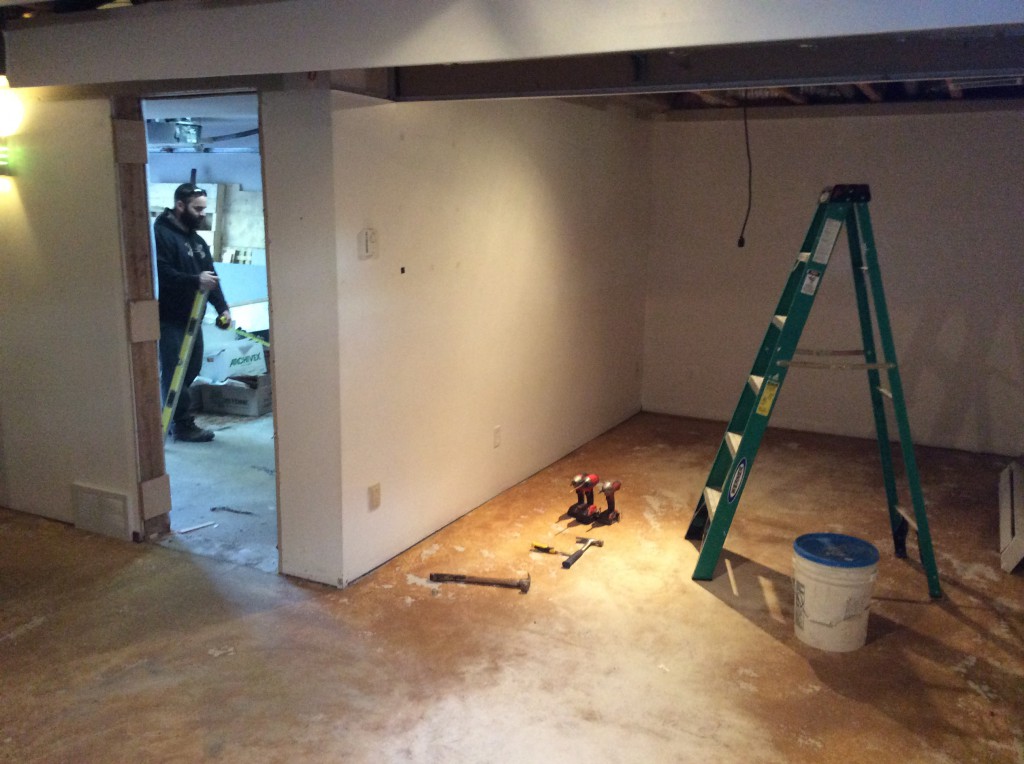
This was the space I had in the basement

IMG_2331

IMG_2332

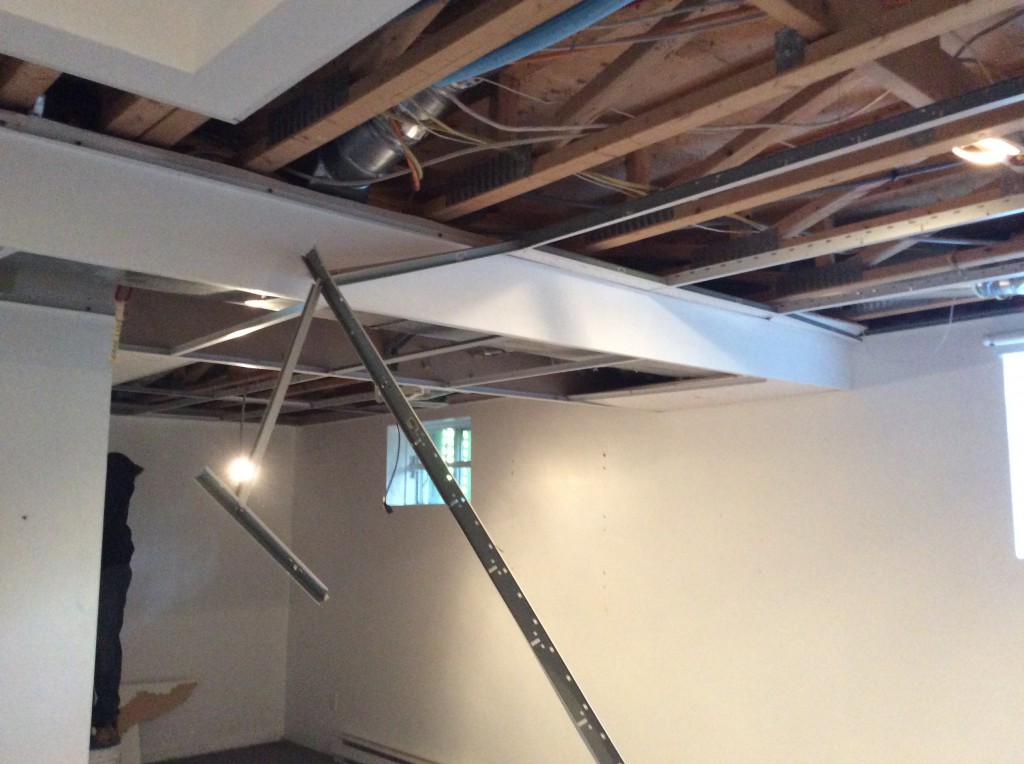
There was a suspended ceiling which is obviously coming off in the next picture.

IMG_2514

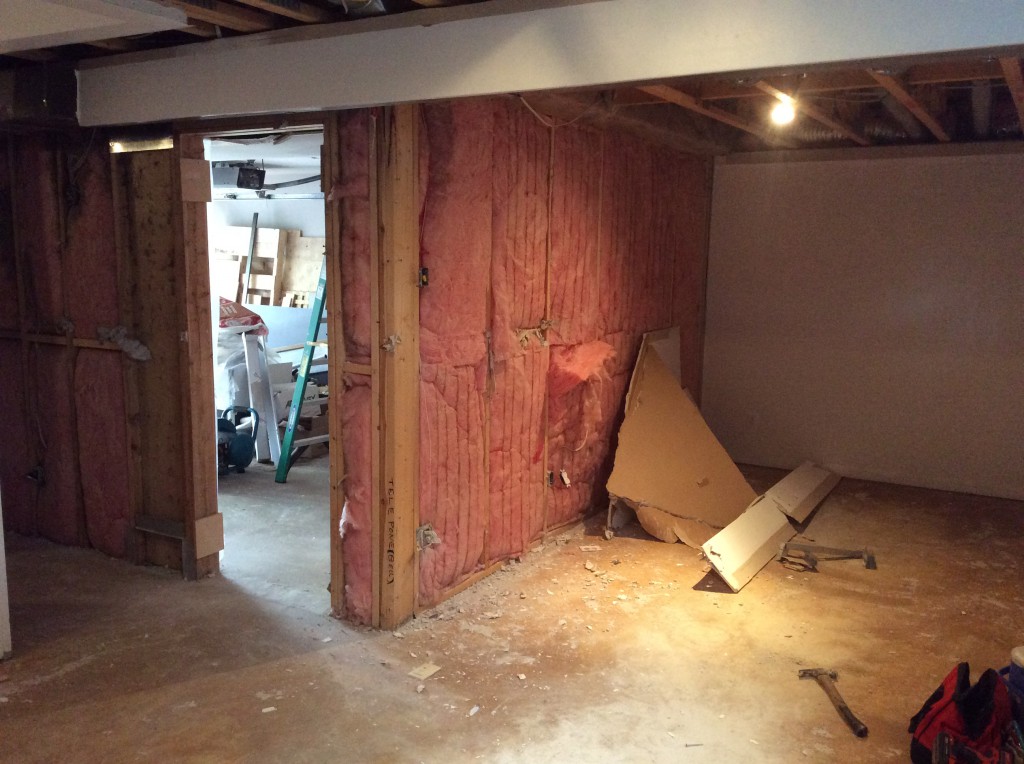
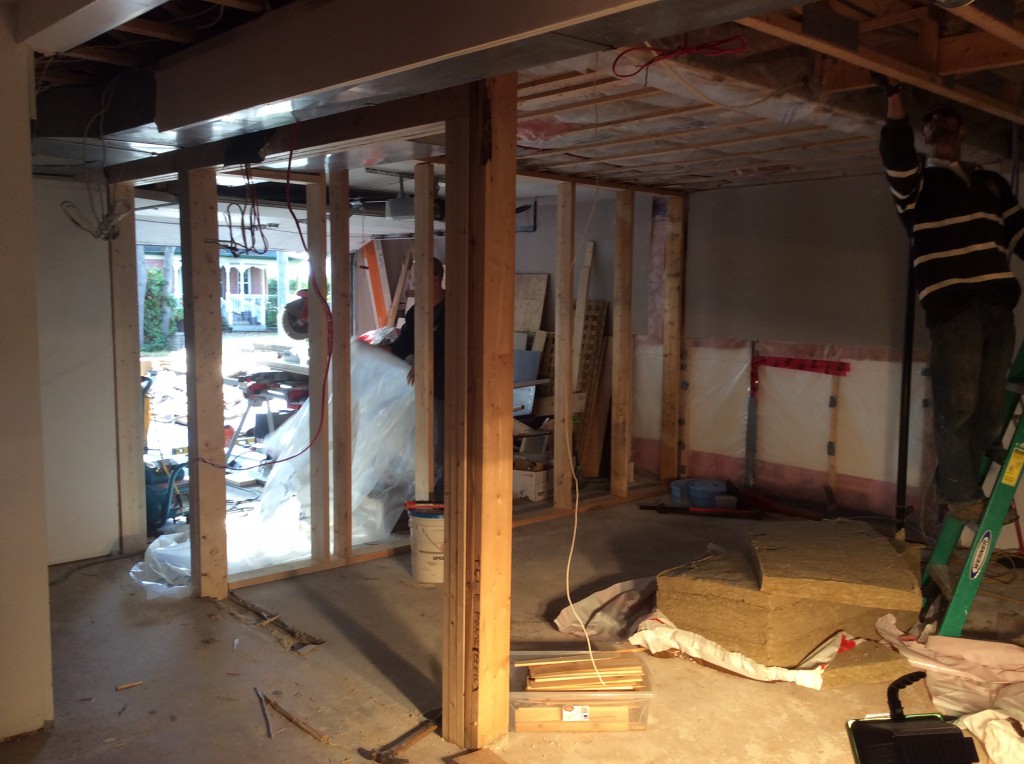
This wall will be moved back to make more space.

IMG_2522

The drywall is gone…

IMG_2526

And the padding is gone…

IMG_2528

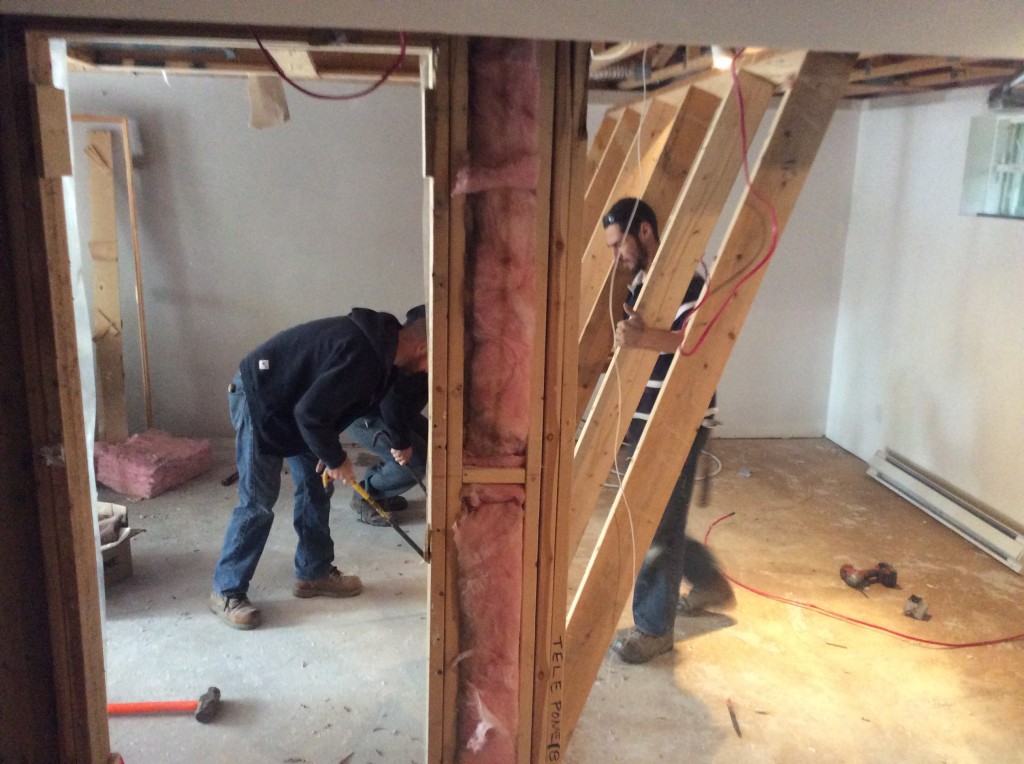
And the wall literally goes down

IMG_2533

And this is the wall, moved to it’s new location

IMG_2562

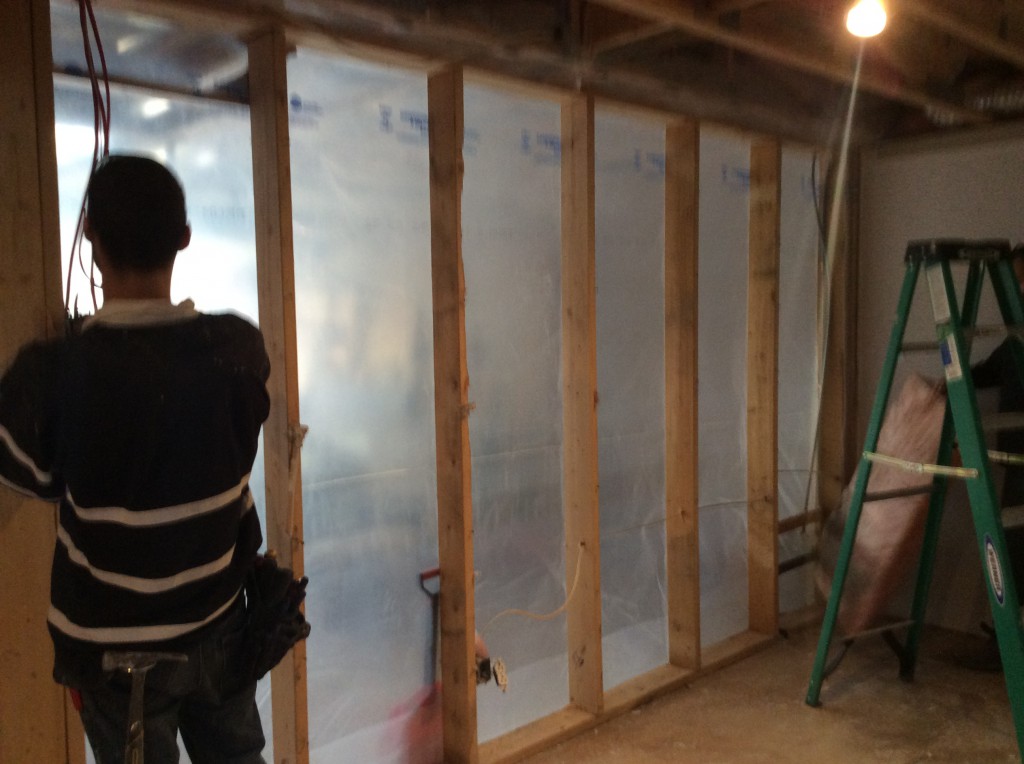
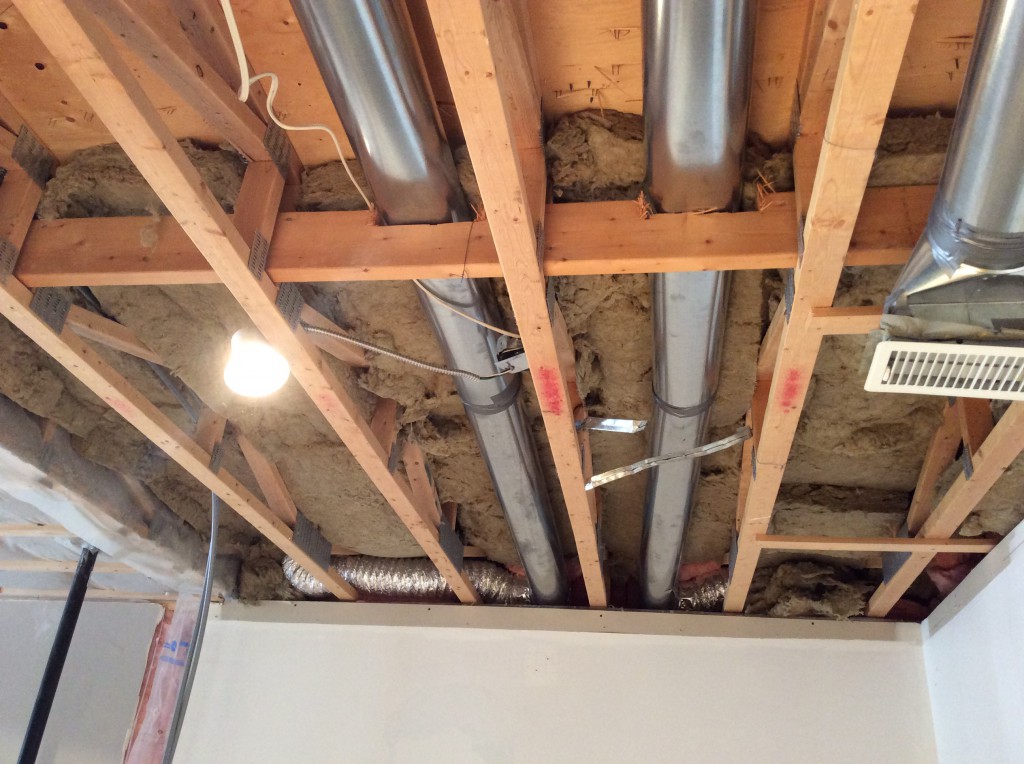
Here comes the sound proofing part with some padding.

IMG_2563

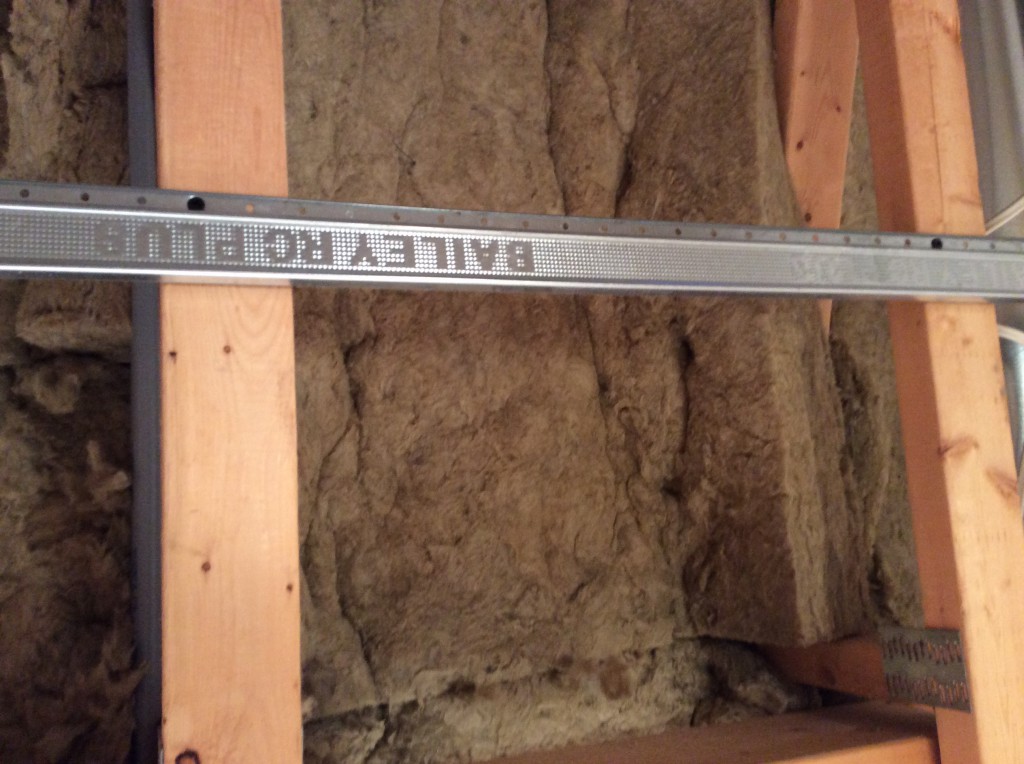
And more sound proofing with these resilient channels that will hold up the ceiling drywalls. What it does is basically stop the sound from travelling through the drywall and into the wooden structure.

IMG_2568

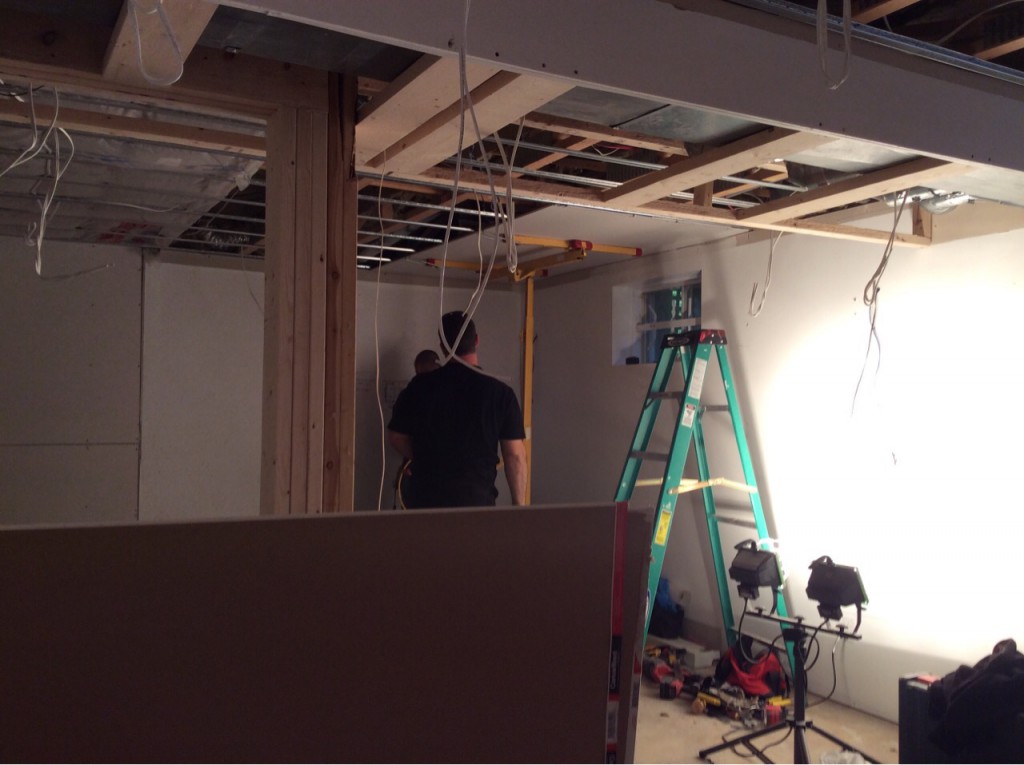
Meanwhile, they had to install a new beam to support the building, and some plumbing work was needed to be done, but I’m not going to bore you with the pictures. So here’s the new ceiling drywall being installed.

IMG_2594

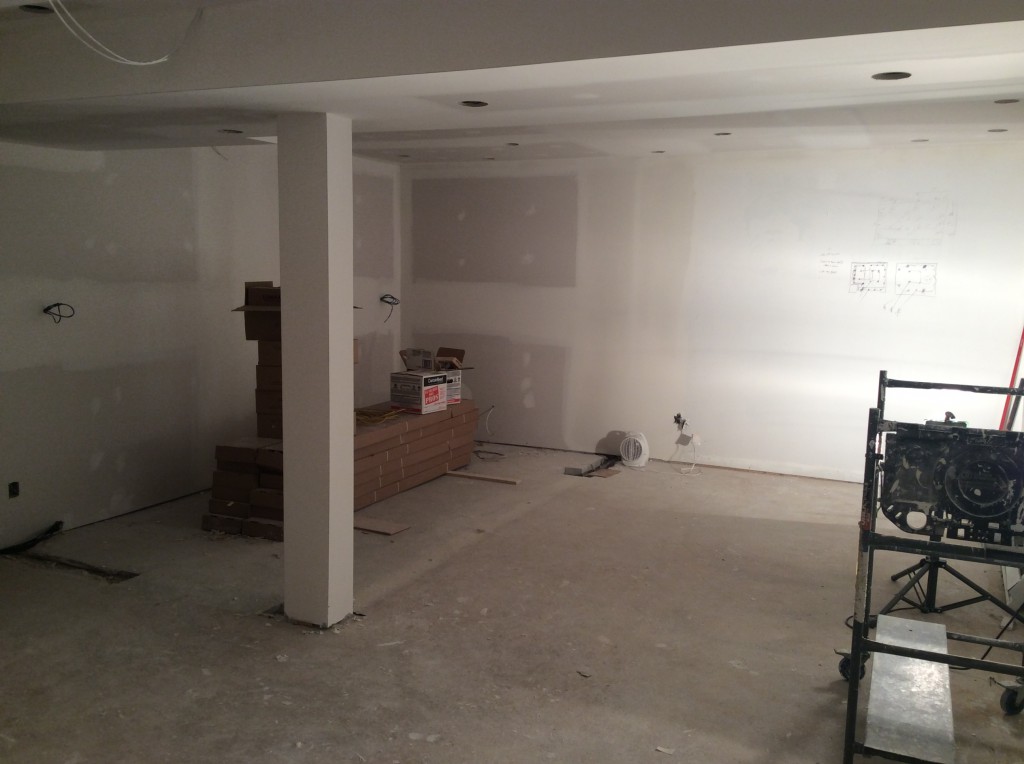
And here’s the new space, with drywalls installed and plastered.

IMG_2624

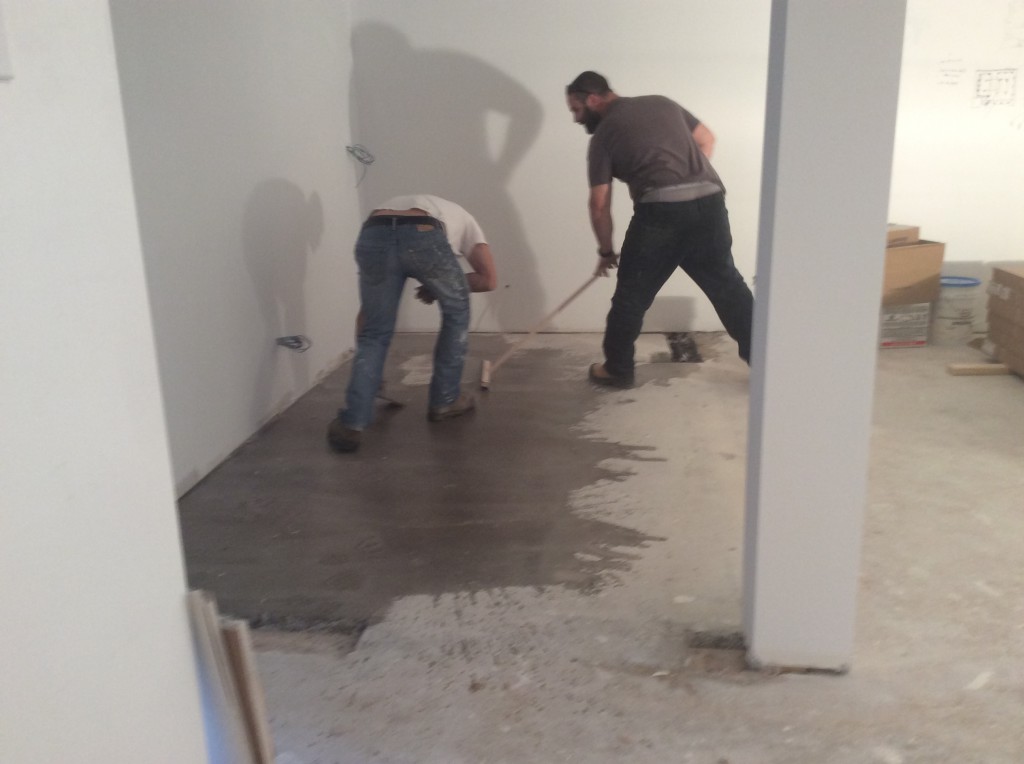
Self leveling is down, getting the floor ready for the wood floor installation.

IMG_2636

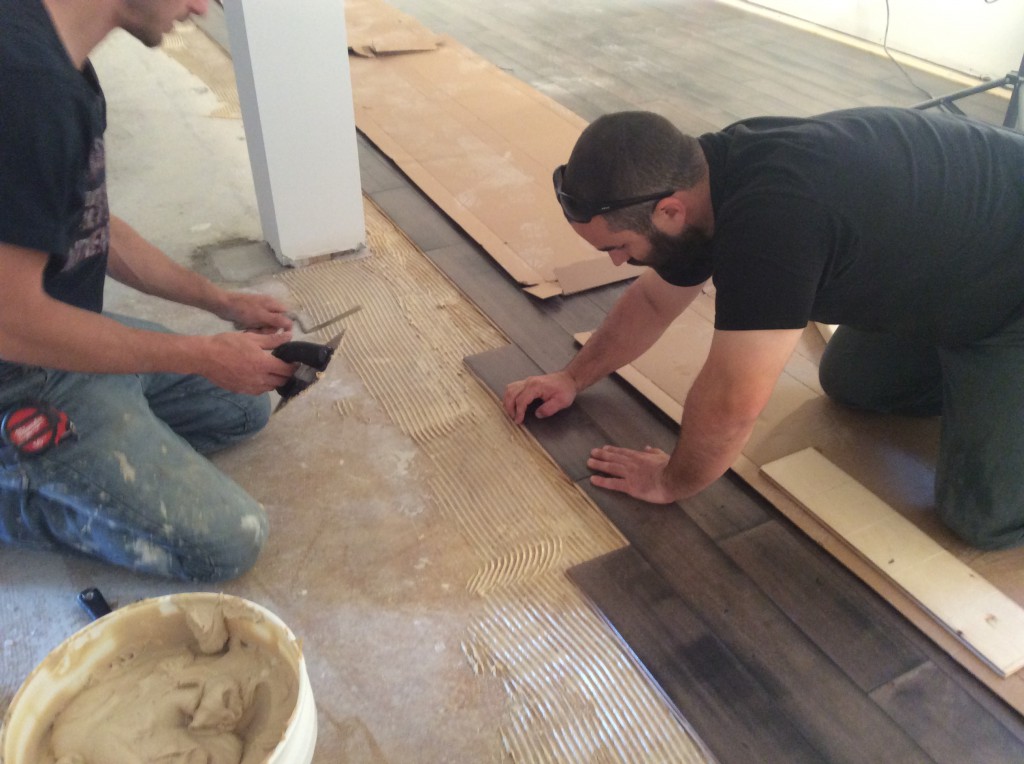
And the floors are being installed.

IMG_2660

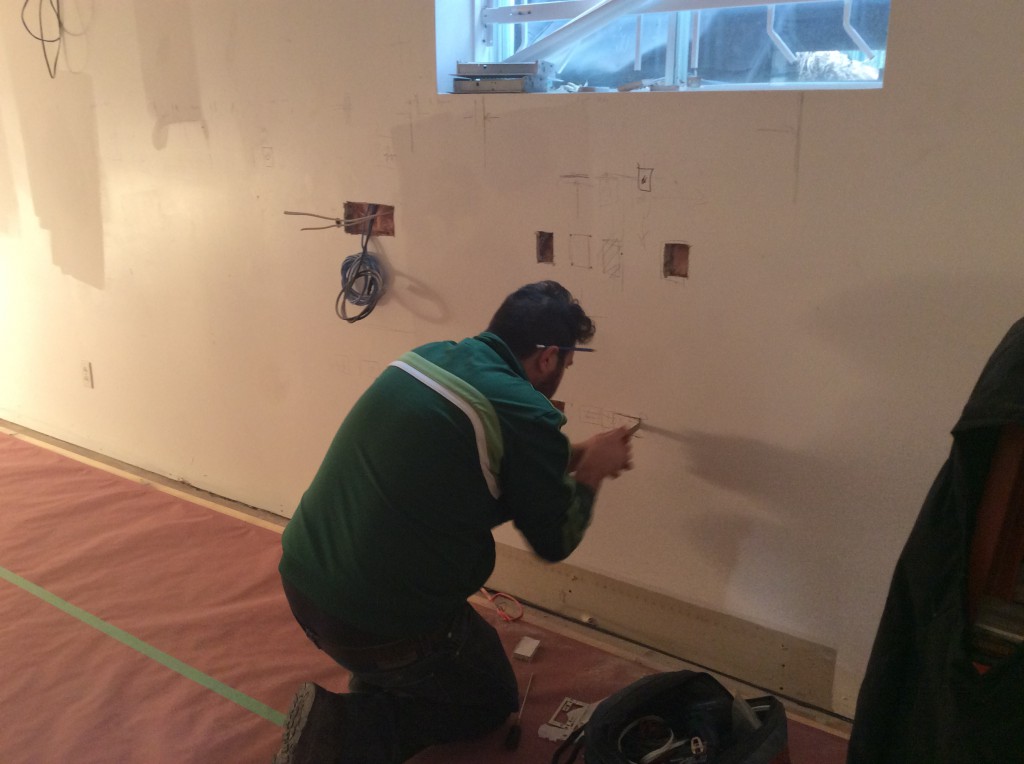
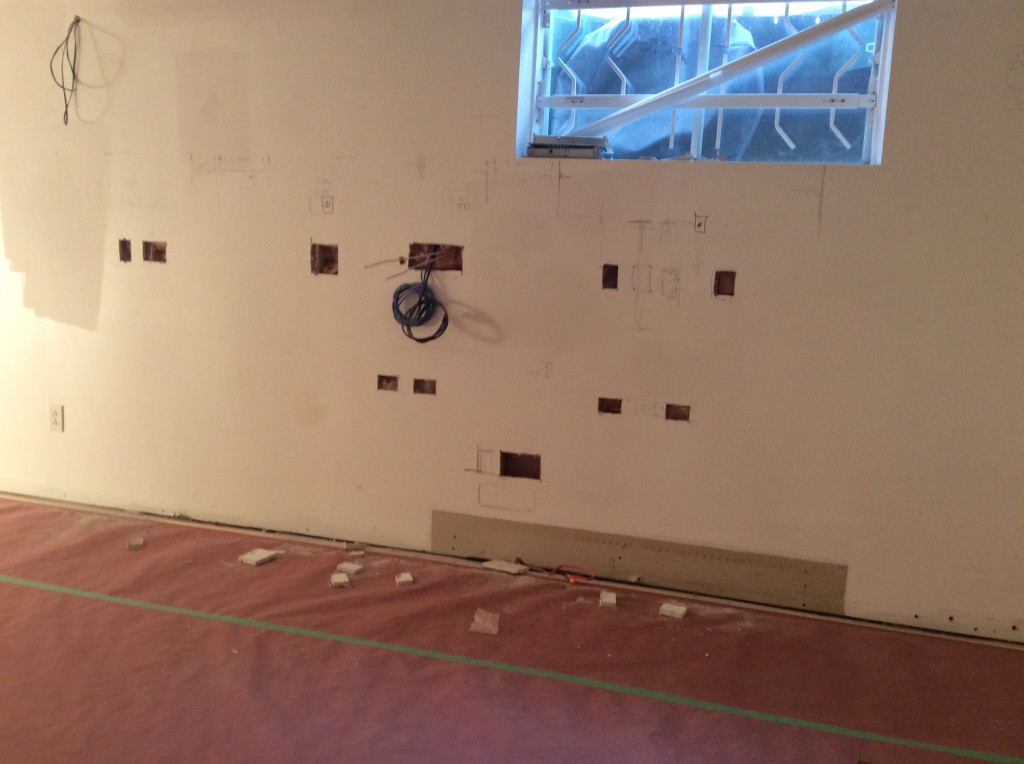
The electrician is here, preparing the wall plate boxes which will be used later behind the new workstation and Guitar amp/racks etc…

IMG_2674

This is the entire space for my new workstation, Guitar amp/cabinet/racks are going on the left, two computers on the right, under the window with two gorgeous new monitors. I’ll post some pics as soon as I get them. All the wires will be going through the walls, so the new space will be clutter free, with absolutely no distractions. Total focus on making new music!

IMG_2676

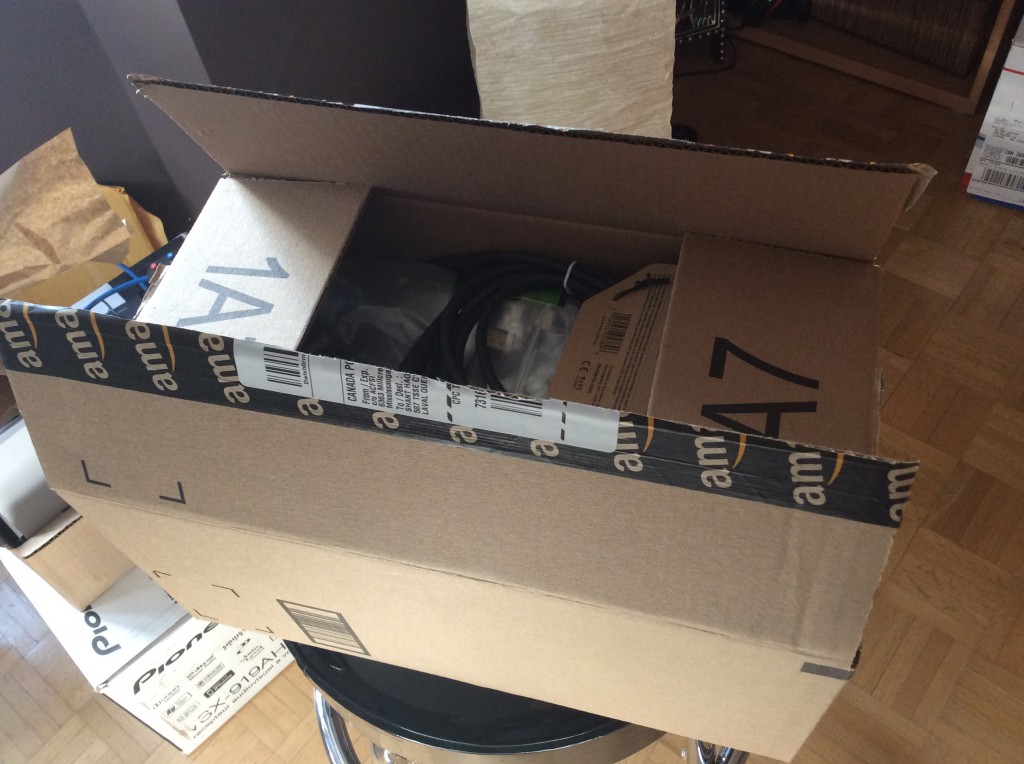
Got some connection cables from Amazon, The nerd in me is getting over-excited.

IMG_2722

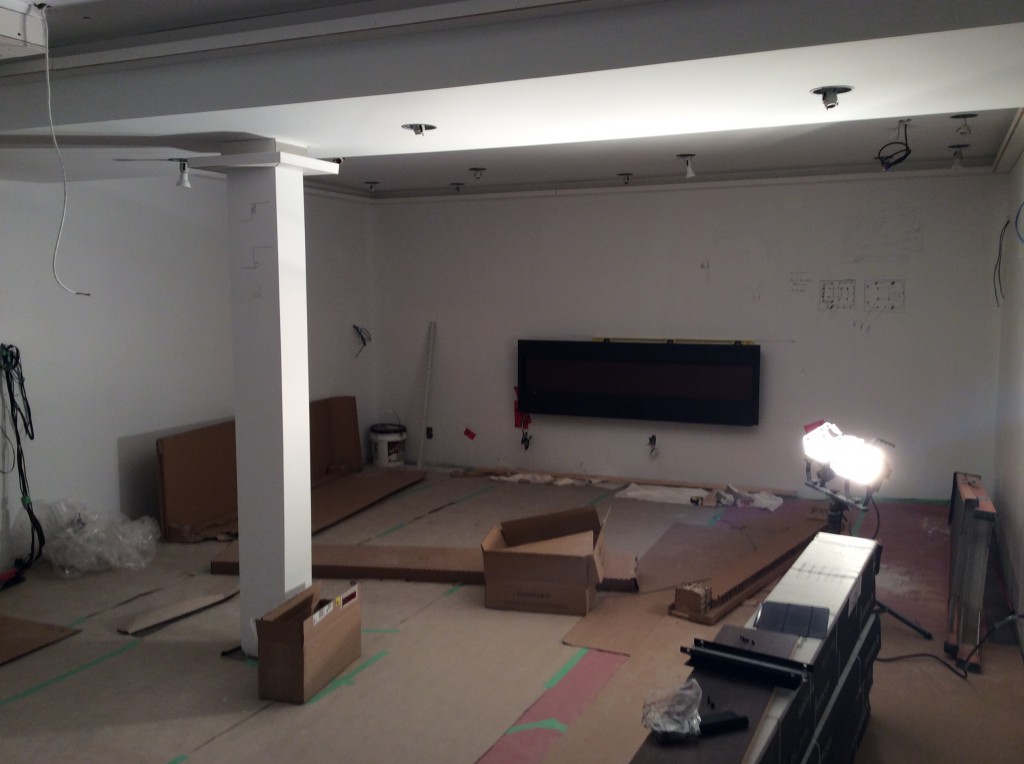
And just installed a sweet looking electric fireplace. The guitars are going to be wall-mounted, probably to the left of the fireplace. And as you can see the spotlights are installed.

IMG_2727


Alright, now you’re up to date with what’s going on in Shant-land. The painter will start painting the ceiling and a couple of walls this week, and hopefully the electrician will come in later this week to finish some more work, installing LED strips under the staircase steps and in the corners of he ceiling for a cool looking effect.

I think we’re 60% done, there’s still some work to do on a few walls, there will be also a wall where a couple of cabinets will be installed in-wall to hold receivers, modems and media players, and another cabinet for my CDs, DVDs and LPs.

I’ll post another update as soon as I can.

Continue to Basment Home Studio Update 2 >>